CompuGrade Super Admin Manual
1. Super Admin Guide: Global Platform Operations
A Super Admin has unrestricted, cross-district access to the entire CompuGrade platform. The primary mission of a Super Admin is to onboard new districts, ensure infrastructure health, and act as the governance layer above all district-level administrators.
Left Sidebar Navigation:
| Item | Purpose |
|---|---|
| Dashboard | System-wide KPI overview and usage analytics |
| Districts | Create, manage, and configure all districts |
| Schools | View and manage schools across all districts |
| Users | Search, invite, and manage users platform-wide |
| Roles & Permissions | Configure role definitions and access policies |
| System Settings | Global platform configuration |
| Audit Logs | Compliance log of all admin actions |
1.1 Review System Health on the Dashboard
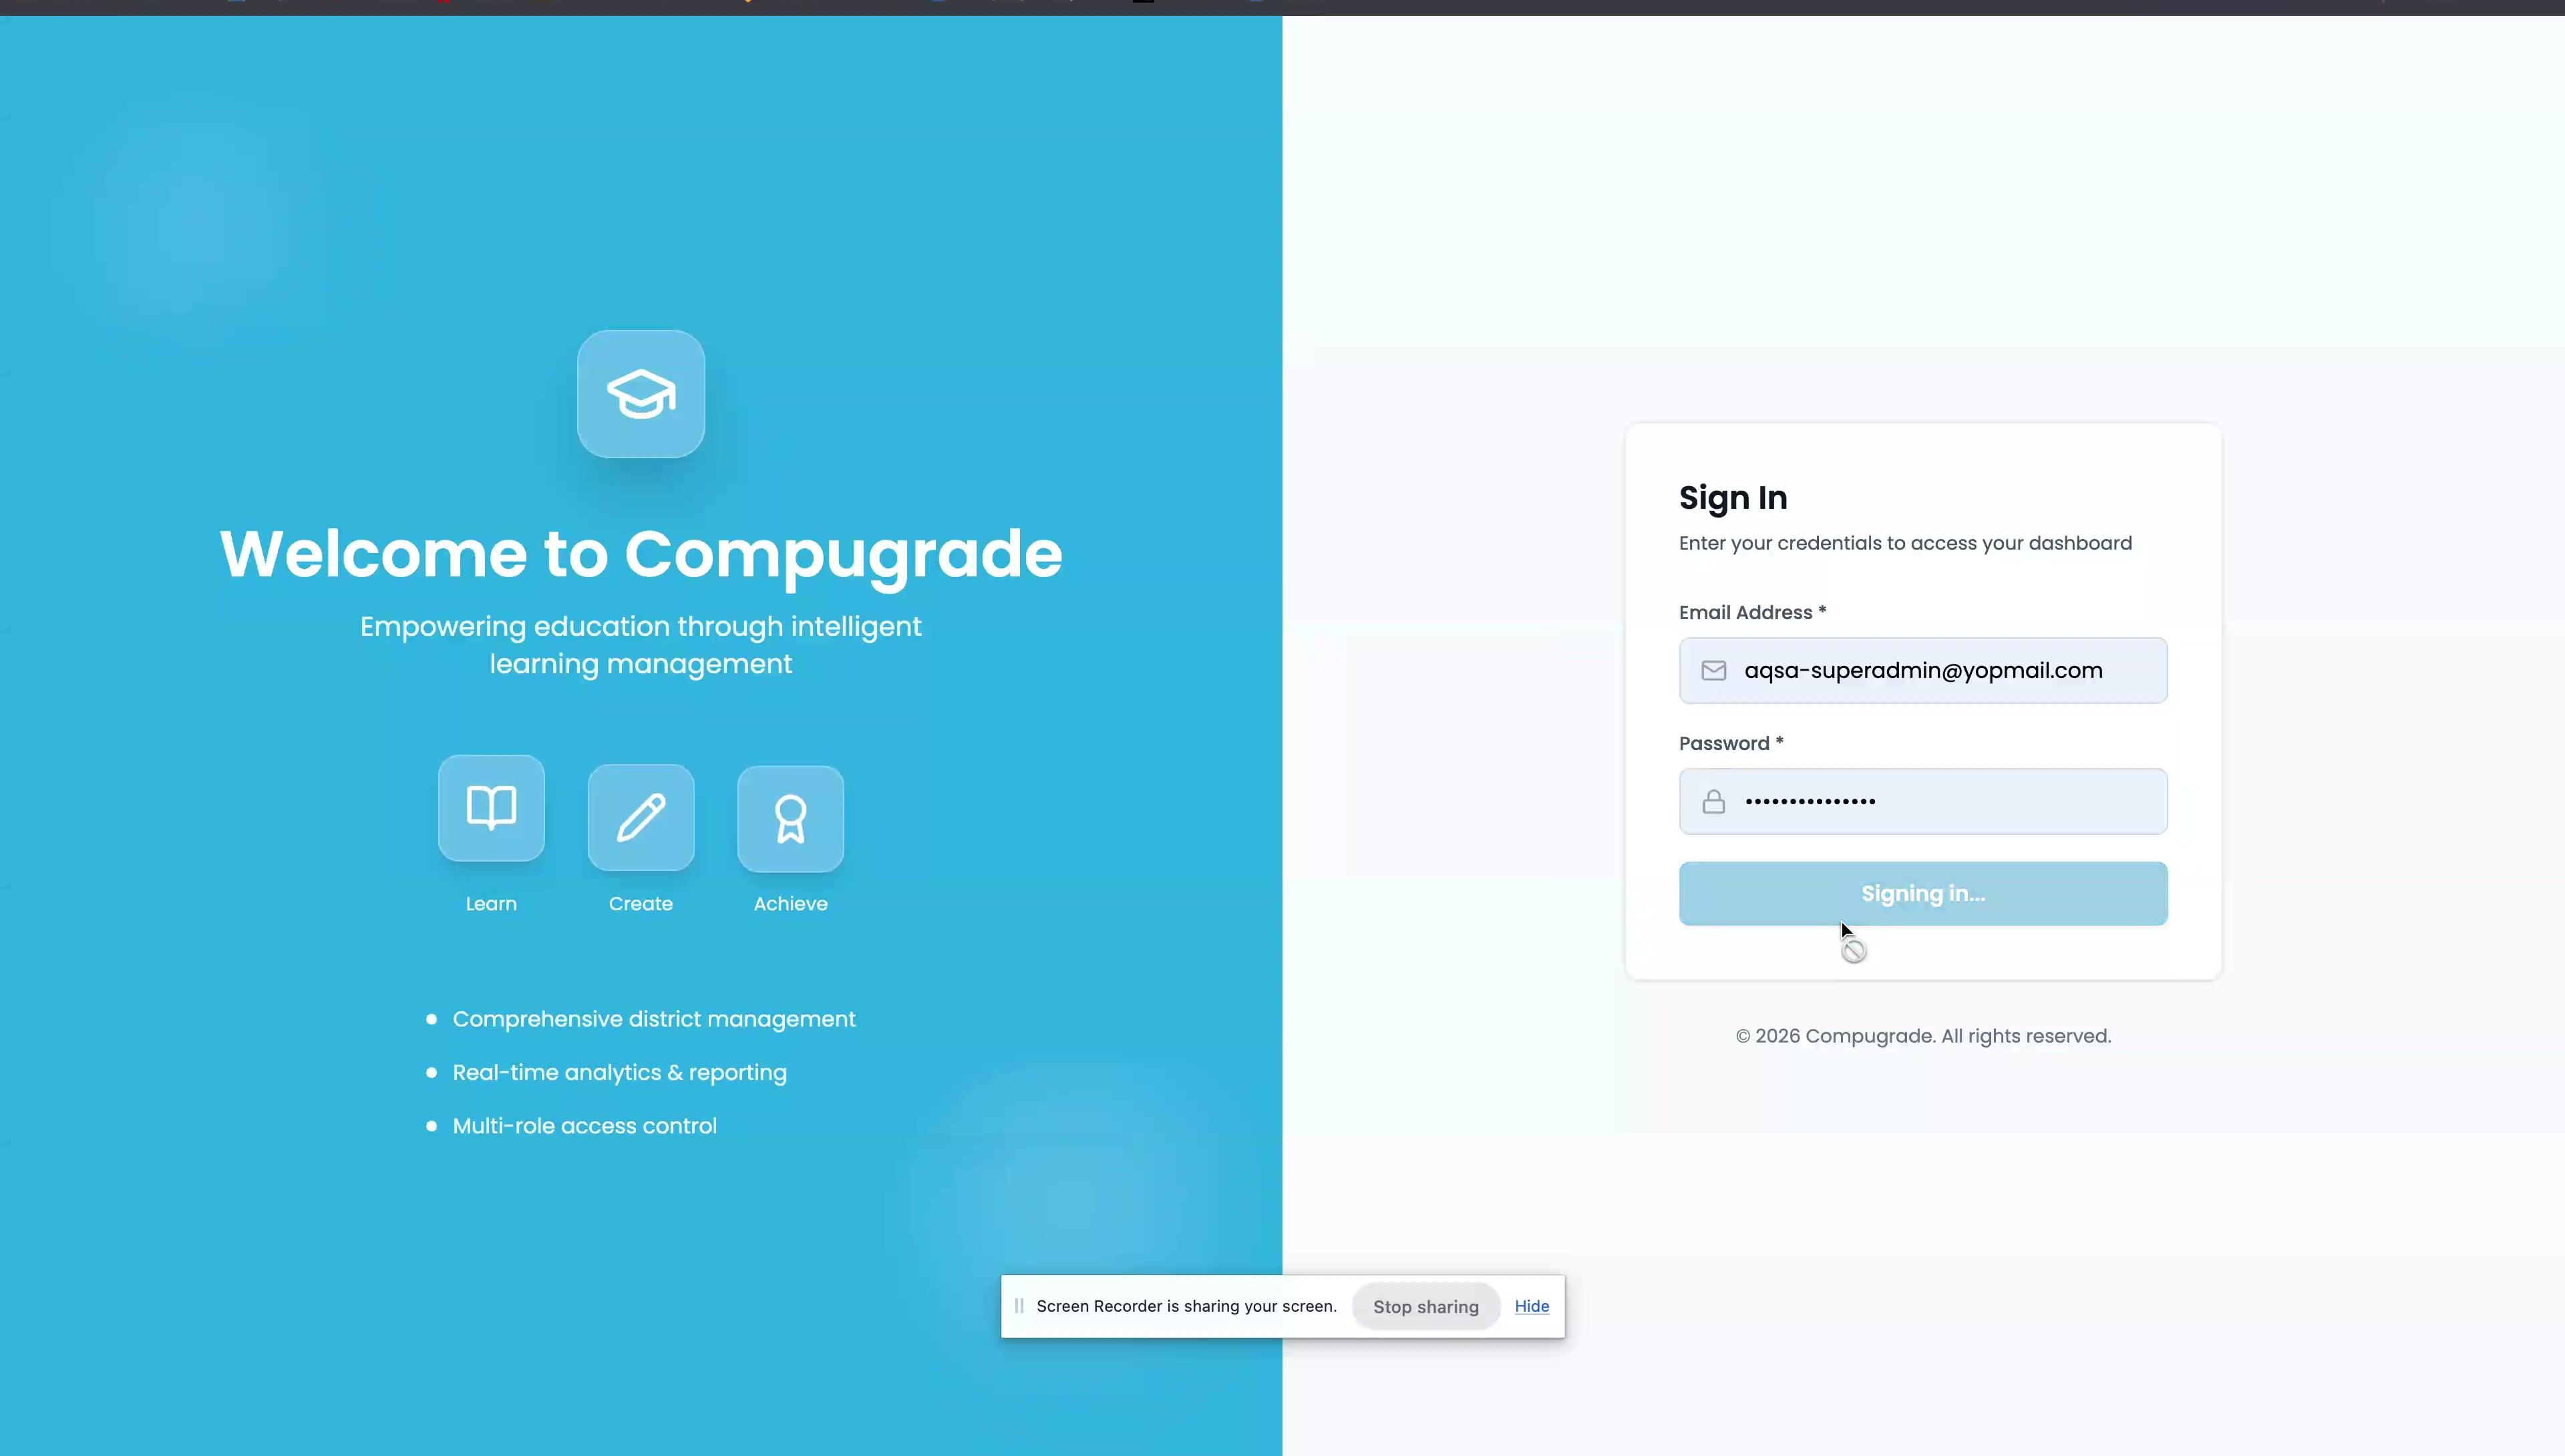
- Log in at
staging.dashboard.compugrade.comwith your Super Admin credentials. - Review the three KPI cards: Total Districts, Active Schools, Active Users.
- Review the "System Usage over 30 Days" line chart for usage spikes or drops.
- Click the bell icon (top right) to review pending system notifications.
1.2 Onboard a New District (End-to-End)
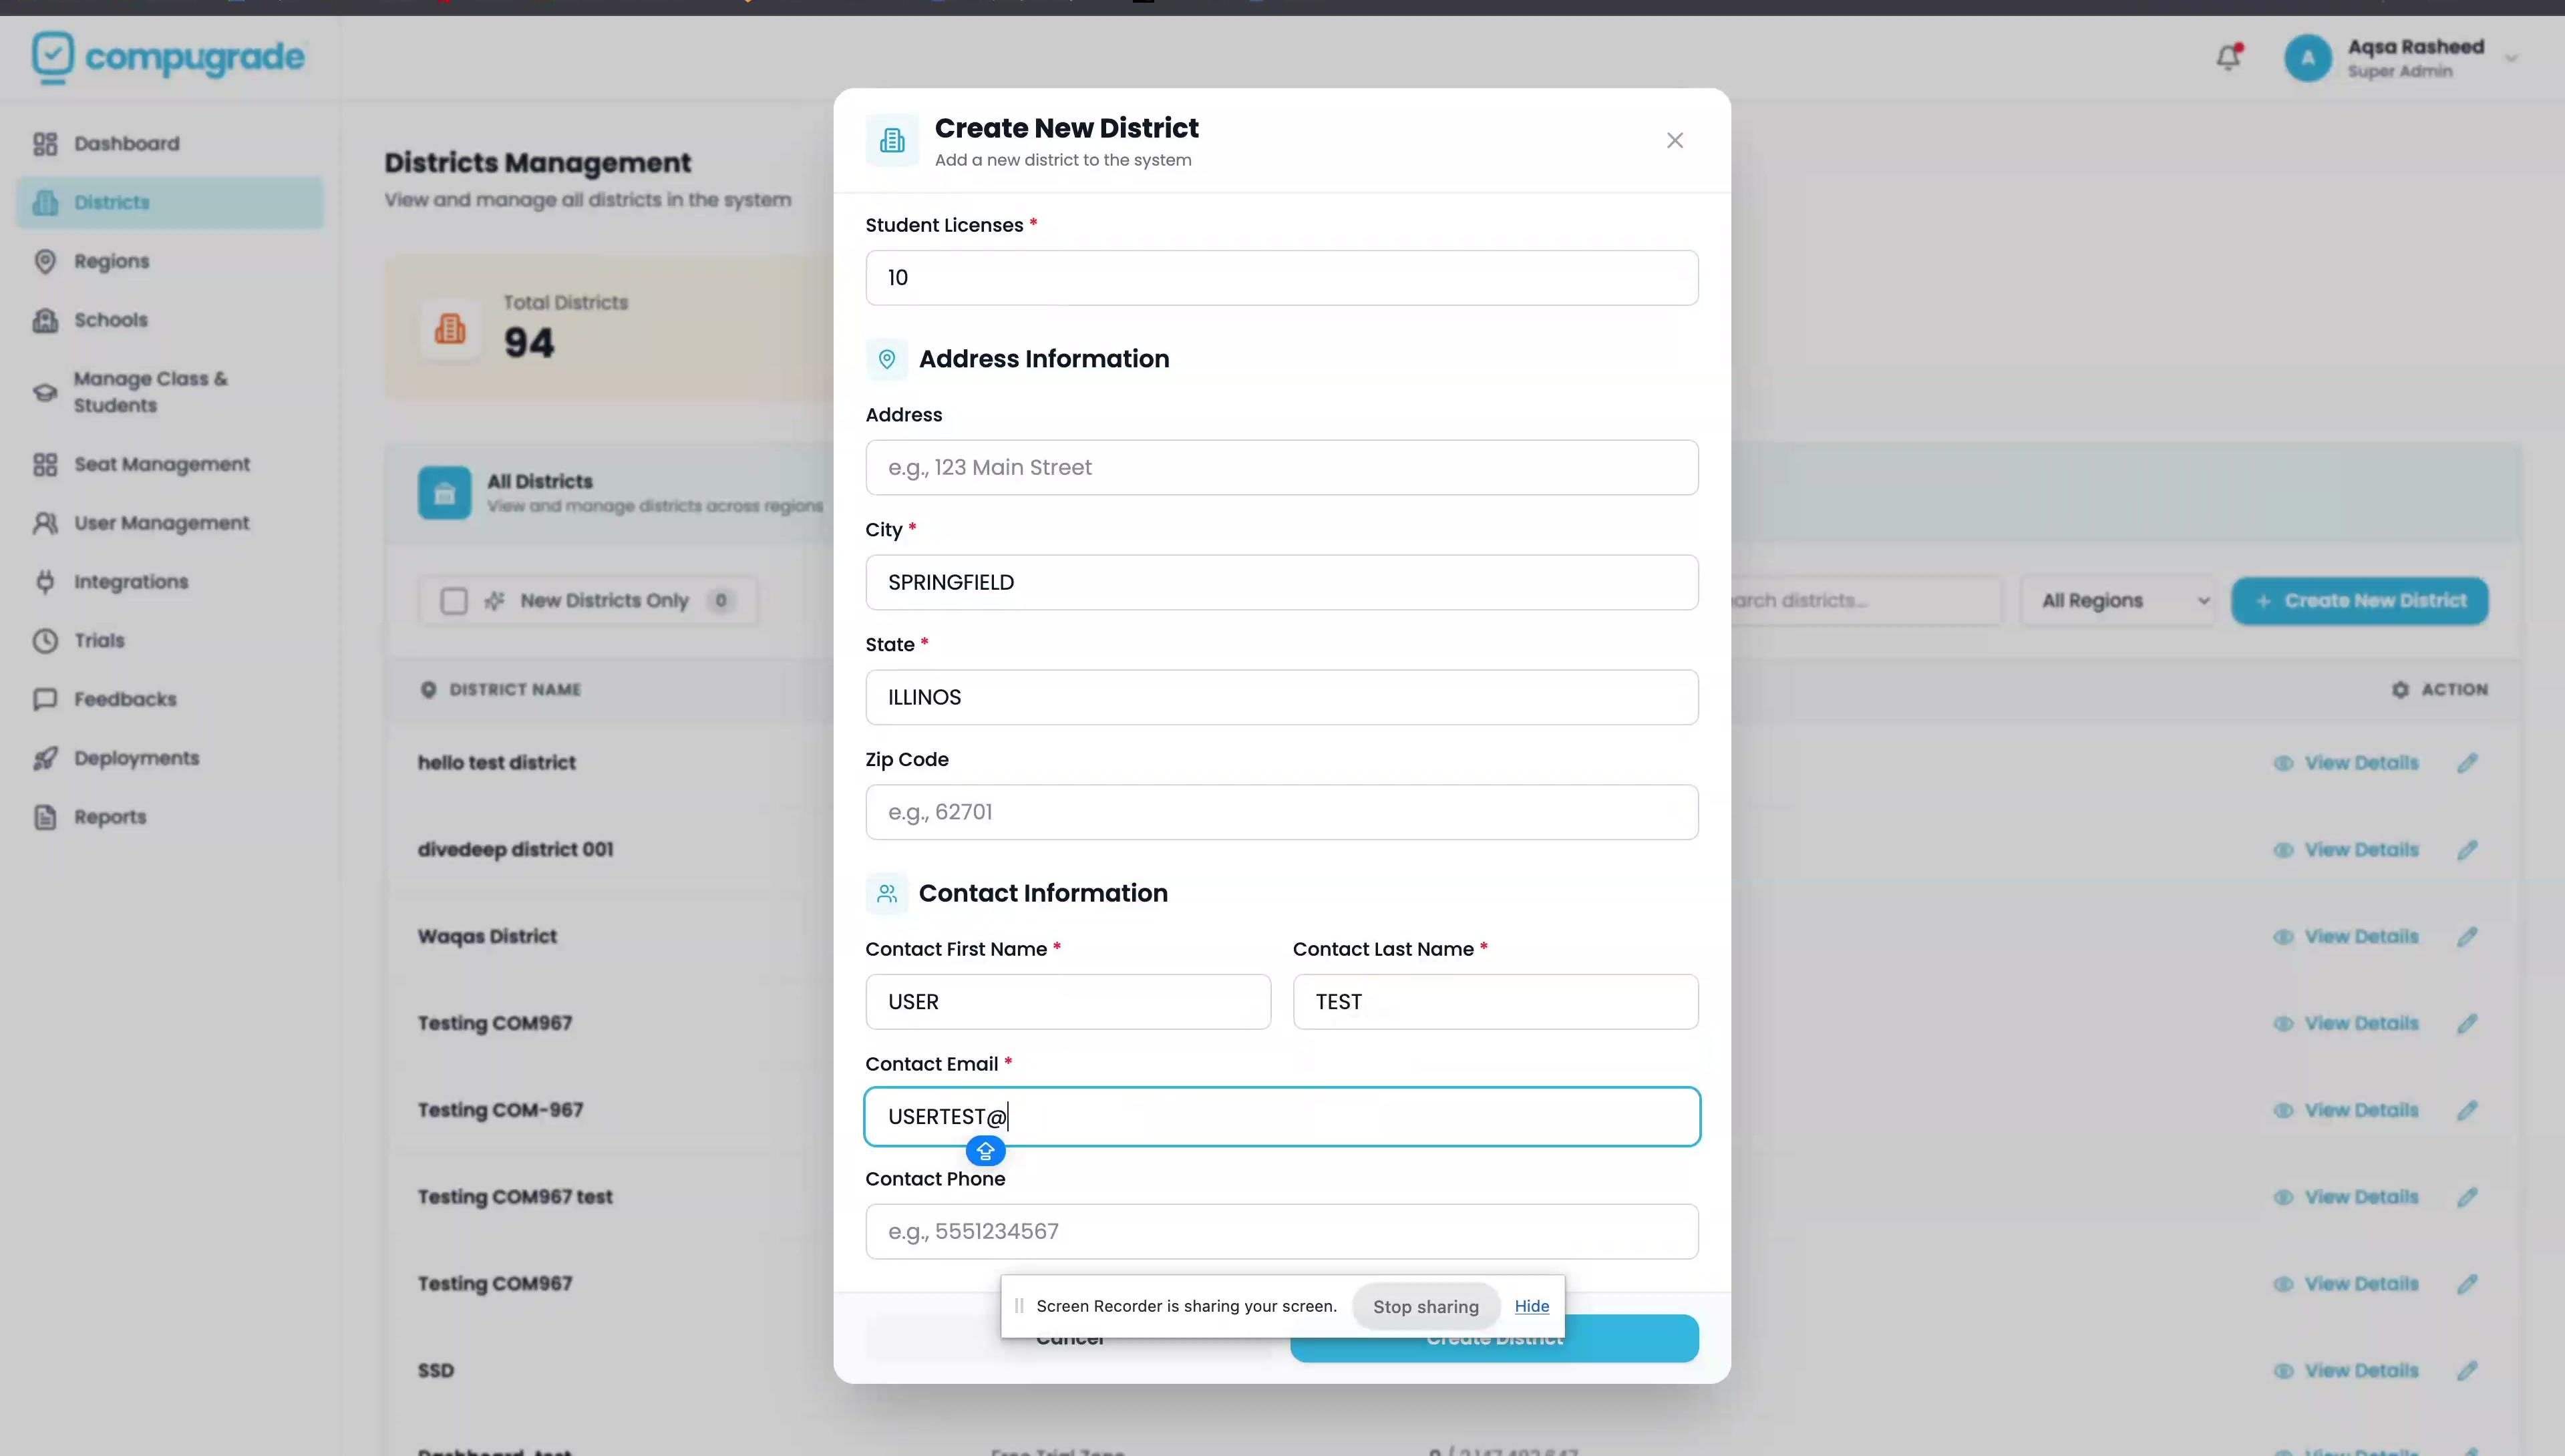
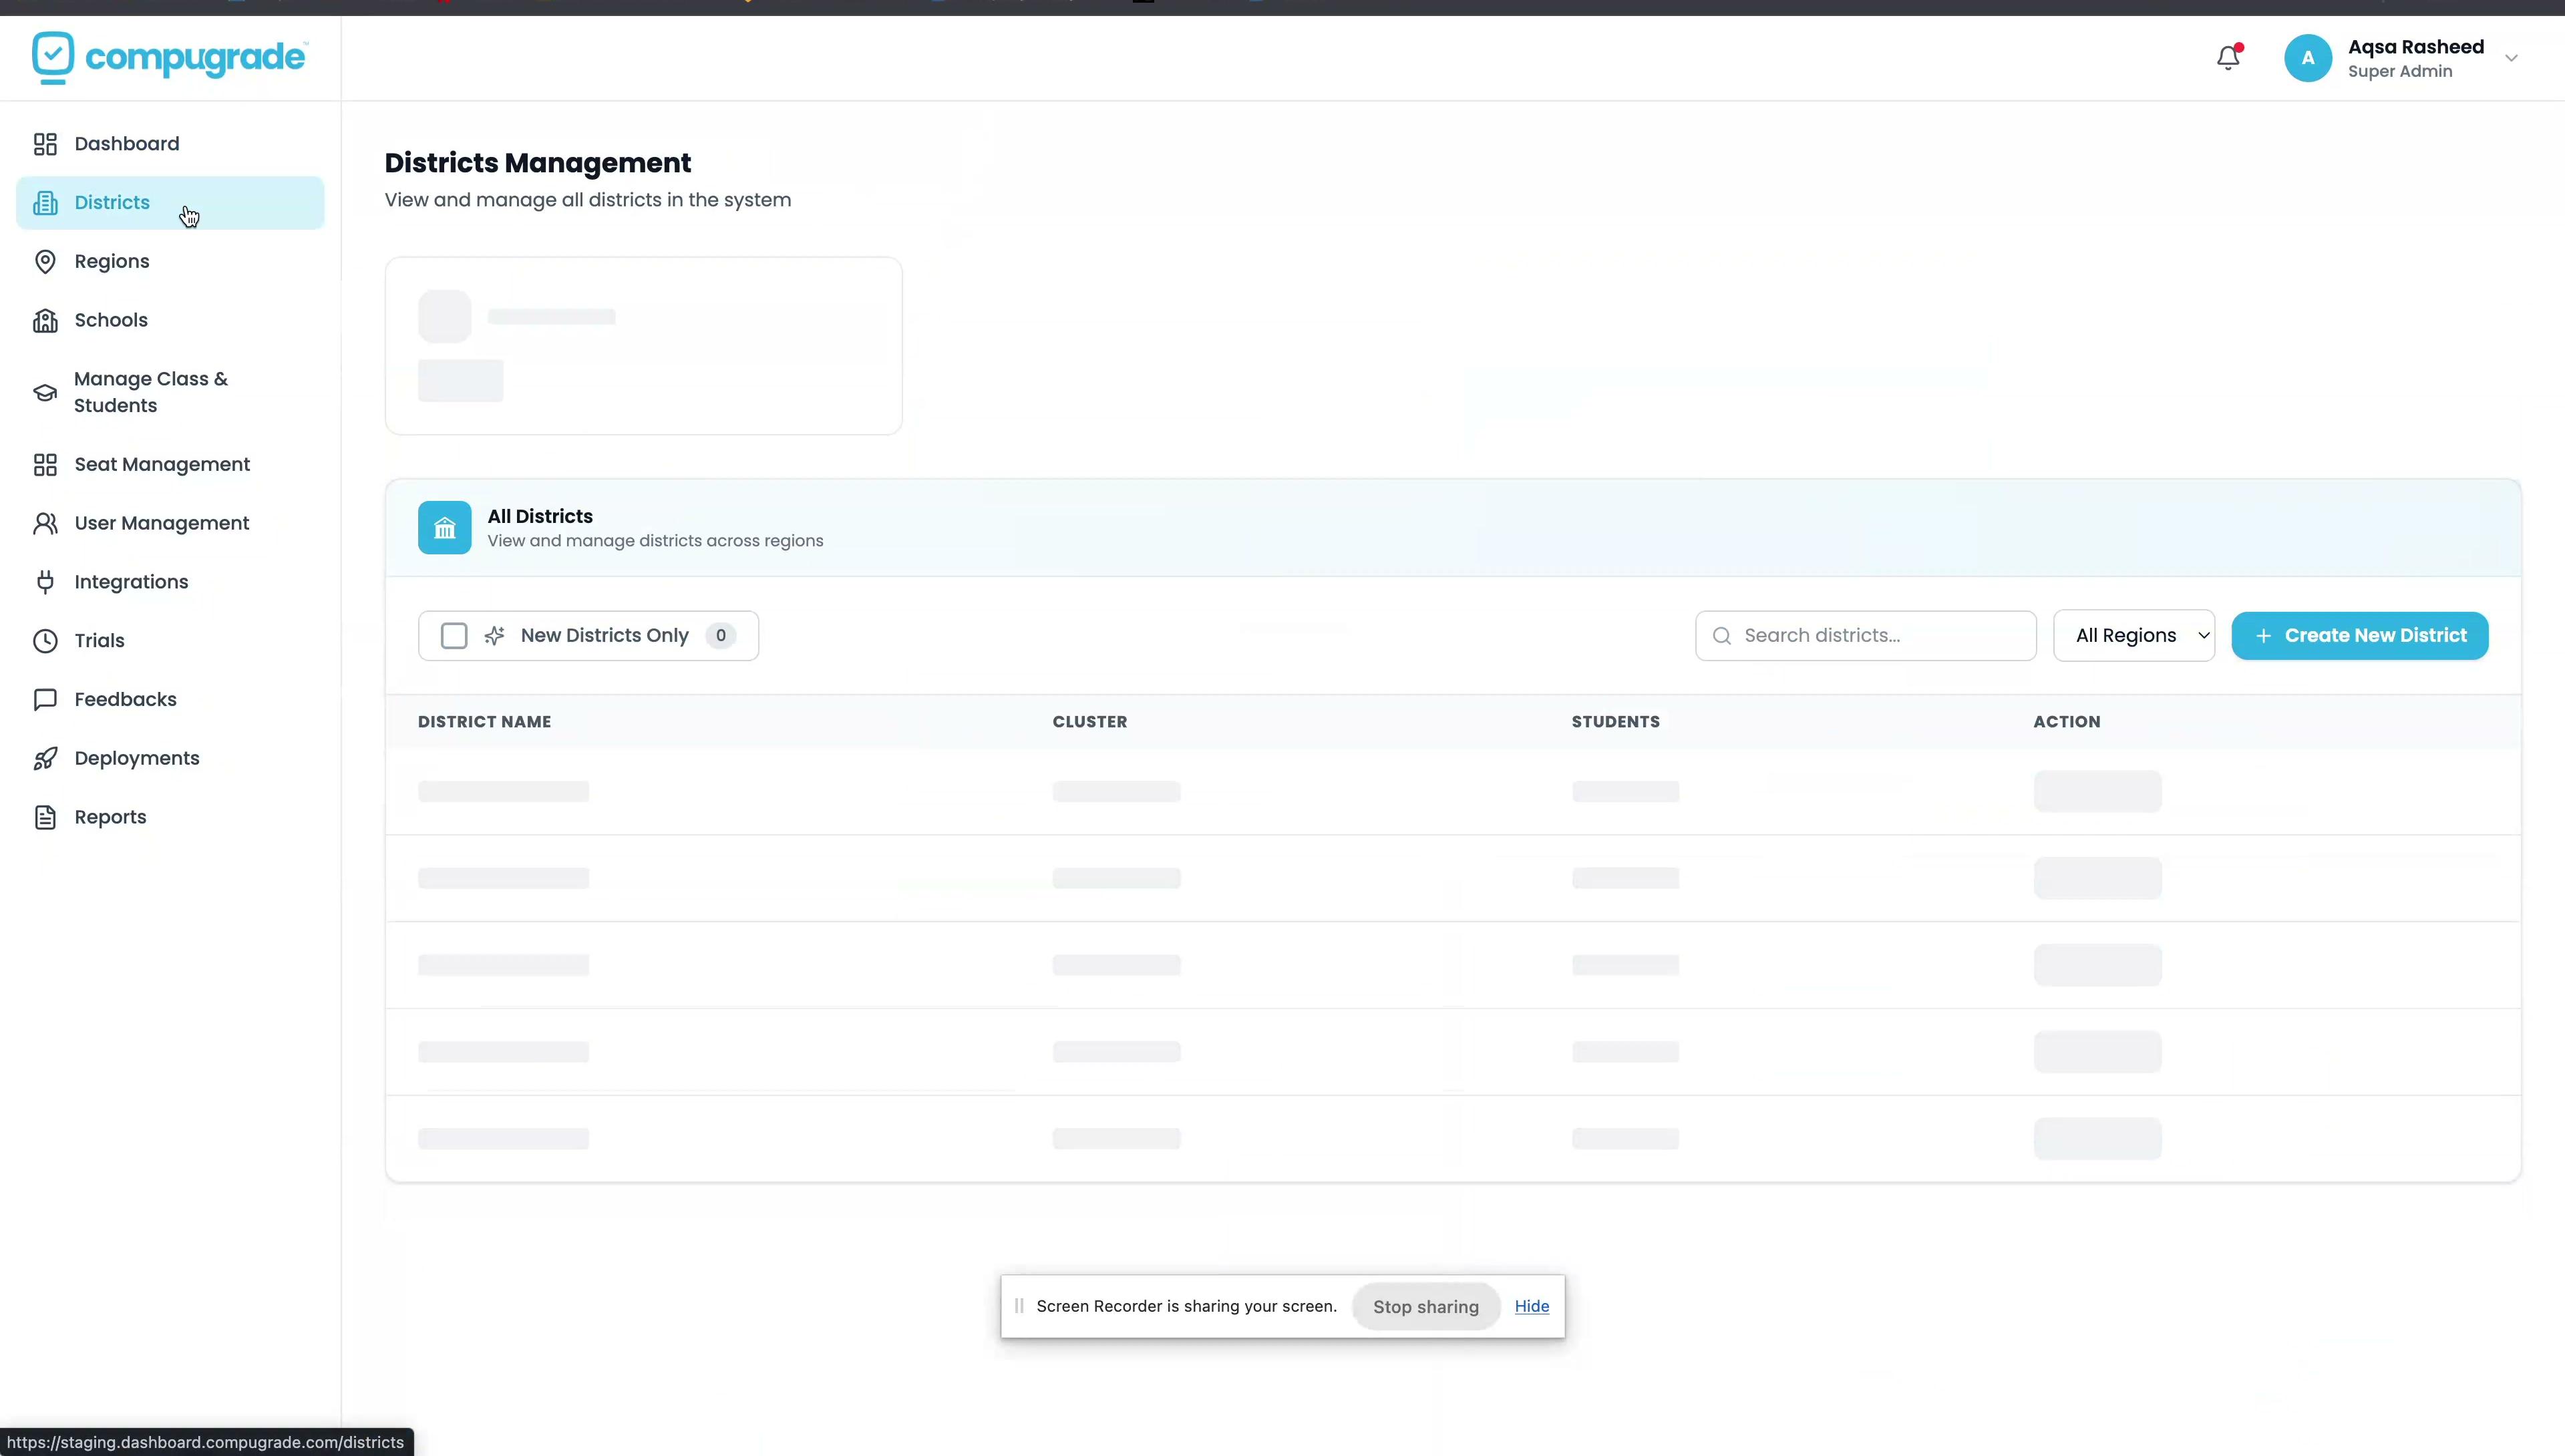
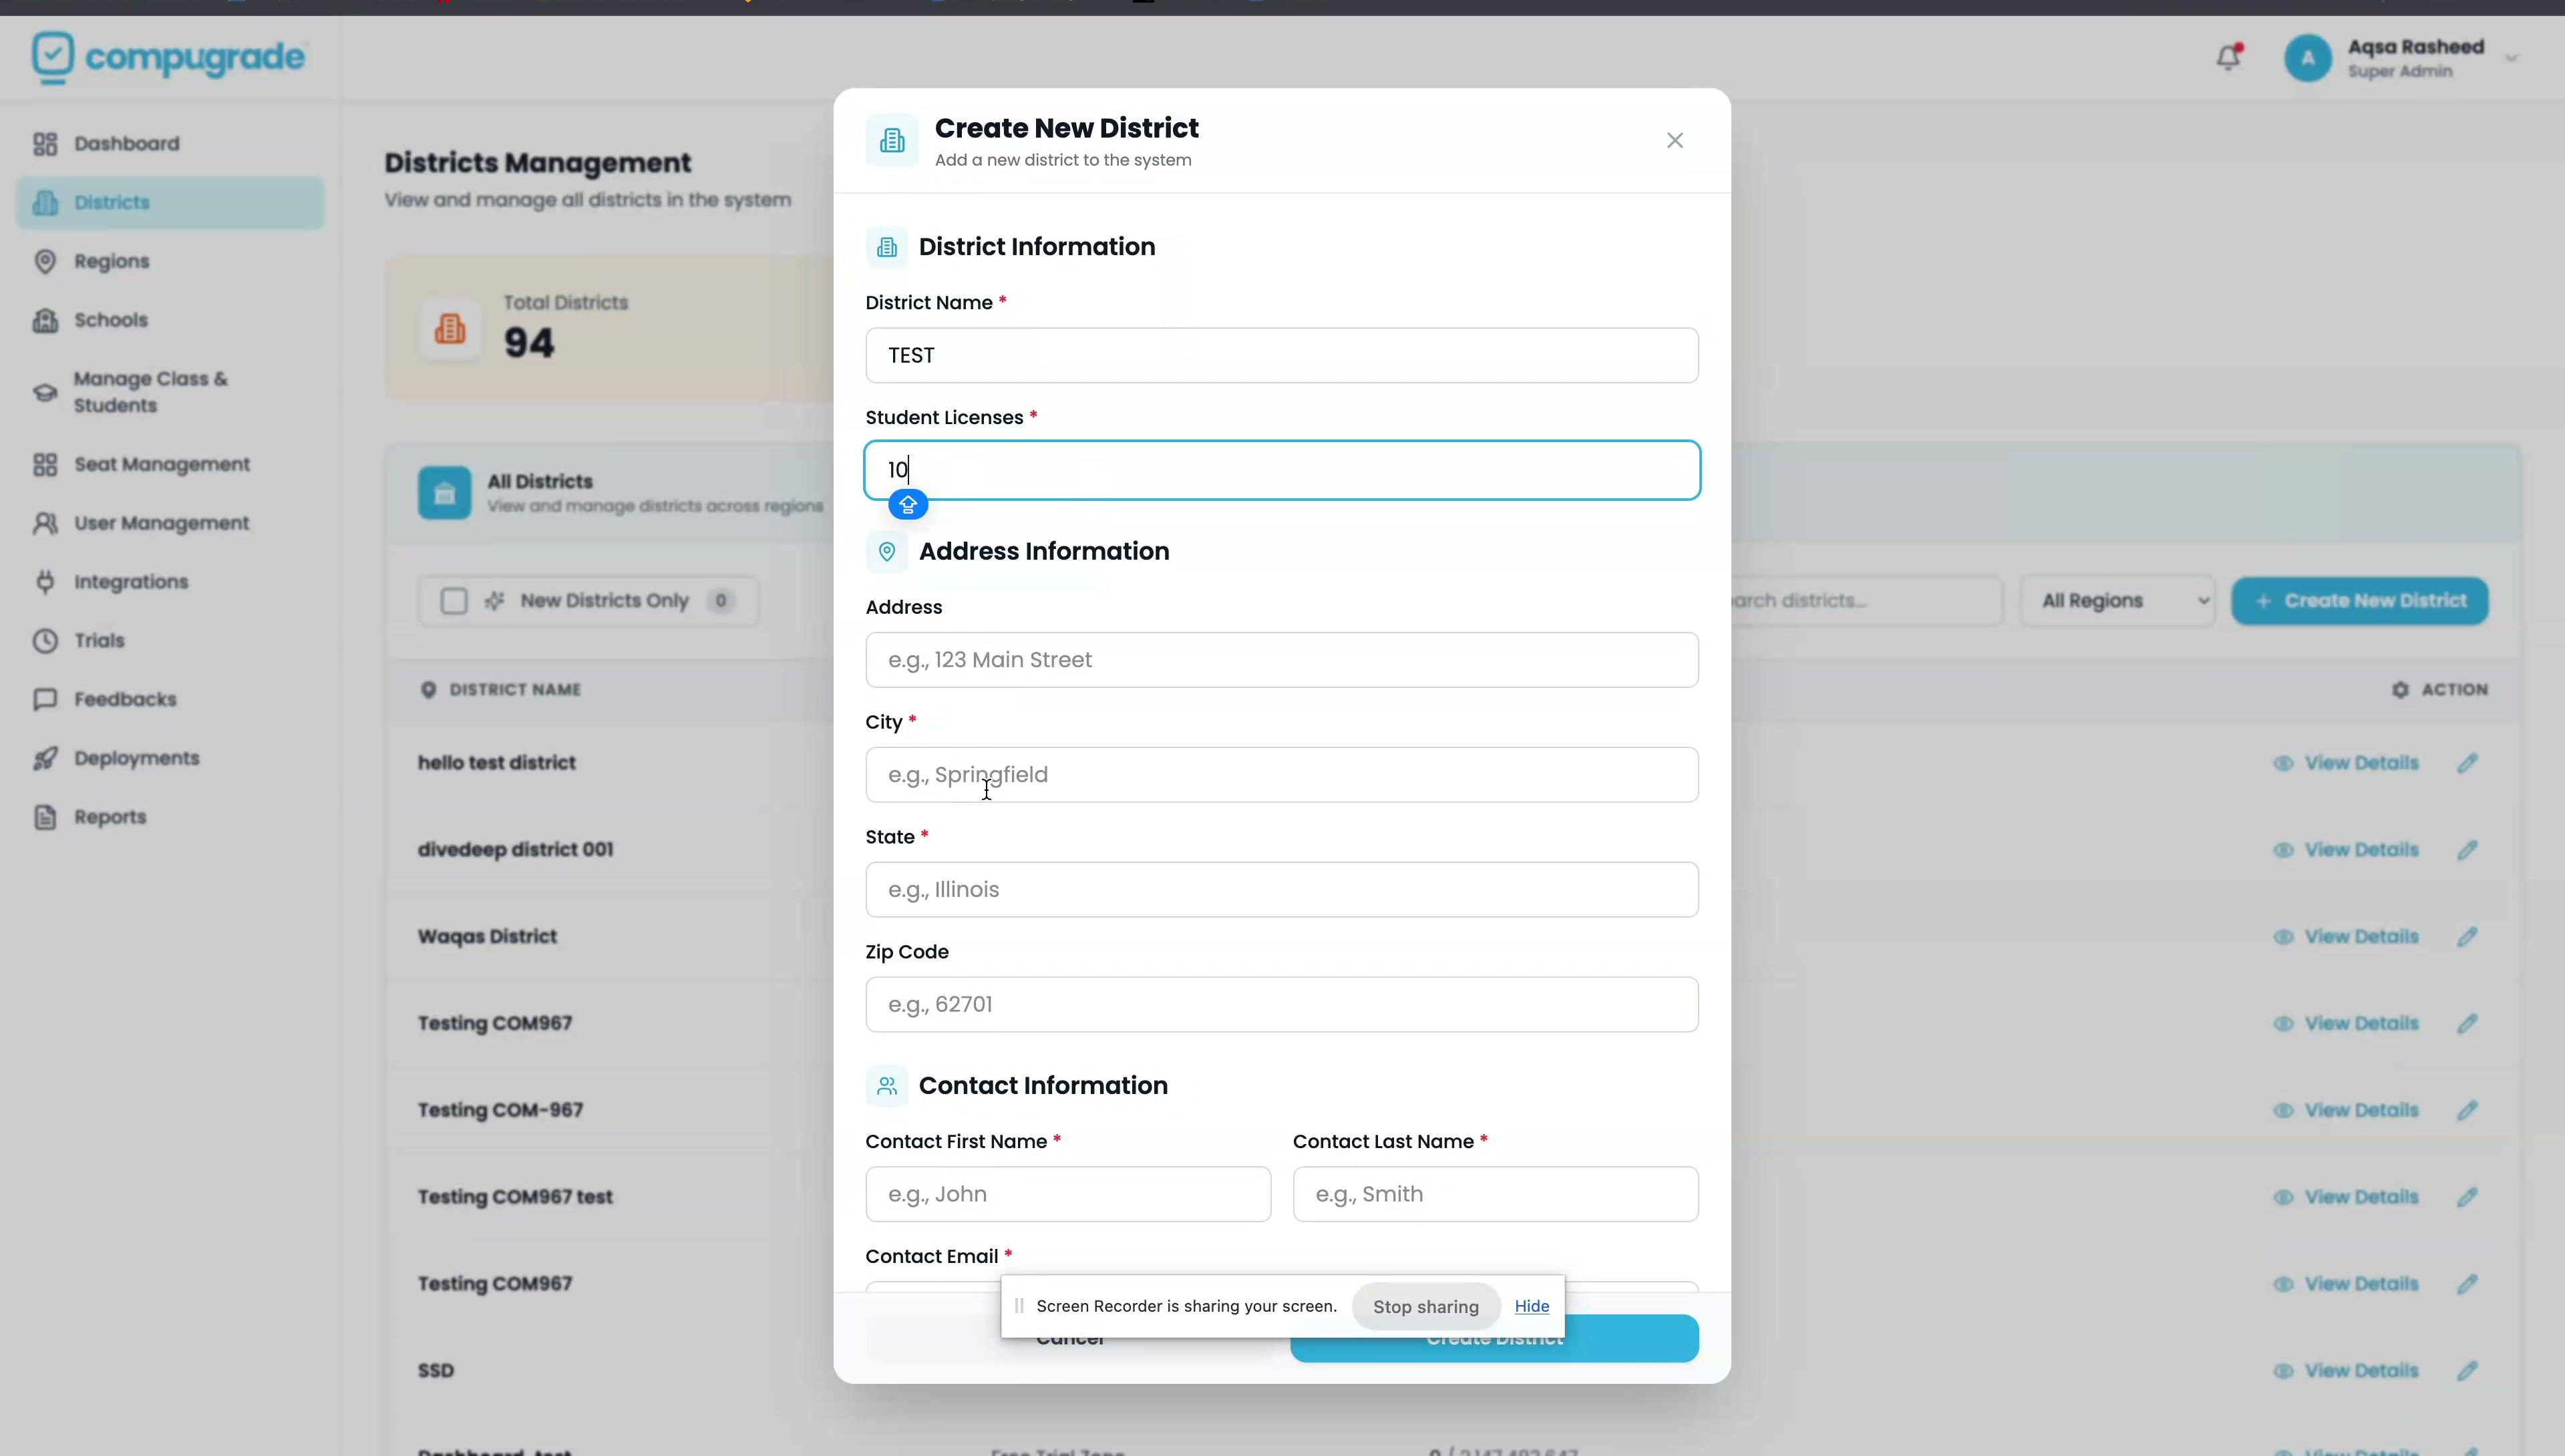
This is the primary Super Admin workflow — it follows a 3-step wizard.
Step 1 — Open the Districts List & Initiate Creation
- Click Districts in the left sidebar.
- Confirm the district doesn't already exist using the Search, Filter by State, or Status filters.
- Click "+ Add New District" to open the creation wizard.
Step 2 — Fill Basic Info (Wizard Step 1 of 3)
| Field | Description | Example |
|---|---|---|
| District Name | Official district name | Lincoln County Schools |
| State | US state dropdown | Washington |
| Superintendent Name | Full legal name | Dr. Jane Smith |
| Contact Email | Primary IT contact | it@lincolncounty.edu |
| Enable SSO Integration | Toggle ON/OFF | ON |
| Max Student Capacity | Platform-level seat ceiling | 5000 |
Click "Save & Continue".
Step 3 — Configure SSO/Rostering Integration (Wizard Step 2 of 3)
- Select the identity provider: Clever, ClassLink, or Google Workspace.
- Enter the Client ID and Client Secret from the provider's developer console.
- Click "Next Step".
Step 4 — Review & Confirm (Wizard Step 3 of 3)
- Review the read-only summary (Name, Status, SSO provider).
- Click "Confirm & Create District". A success toast confirms the action.
Step 5 — Assign the First District Administrator
After creation, you land on the district's Detail Page (tabs: Overview, Schools, Administrators, Settings):
- Click the "Administrators" tab.
- Click "+ Assign District Admin".
- Search for an existing user or invite a new administrator by email.
1.3 Manage Users Platform-Wide
- Click Users → use search and role/district filters to find users.
- Invite: Click "+ Invite User", enter email, select role and district scope.
- Change Role: Click user row → Edit → change role → Save.
- Deactivate: Click Actions → Deactivate (user retains record, loses login access).
1.4 Configure Roles & Permissions
- Click Roles & Permissions → expand any role to see its permission matrix.
- Toggle read/write/delete permissions per module.
- Click Save. Changes apply immediately across all users with that role.
Caution: Modifying a role affects every user with that role across all districts simultaneously.
1.5 Review Audit Logs
- Click Audit Logs → filter by date range, user, action type, or district.
- Each entry shows: Timestamp, Acting User, Action, Affected Resource, Before/After values.
- Click Export to download logs as CSV for compliance reporting.