CompuGrade District Admin Manual
1. District Admin Guide: Provisioning and Operations
A District Admin is responsible for the operational health of a single school district — managing seat inventory, provisioning schools and classrooms, and ensuring teachers and students have the access they need.
Left Sidebar Navigation:
| Item | Purpose |
|---|---|
| Dashboard | District KPIs: seats used, schools active, recent activity |
| Schools | Add and manage schools within the district |
| Classes | Create and manage classrooms tied to Open edX courses |
| Seat Management | View and allocate the district's purchased seat budget |
| Users | Manage teachers and students within the district |
| Reports | Generate grade, activity, and compliance reports |
| Settings | District SSO configuration, notification preferences |
1.1 Review District Dashboard
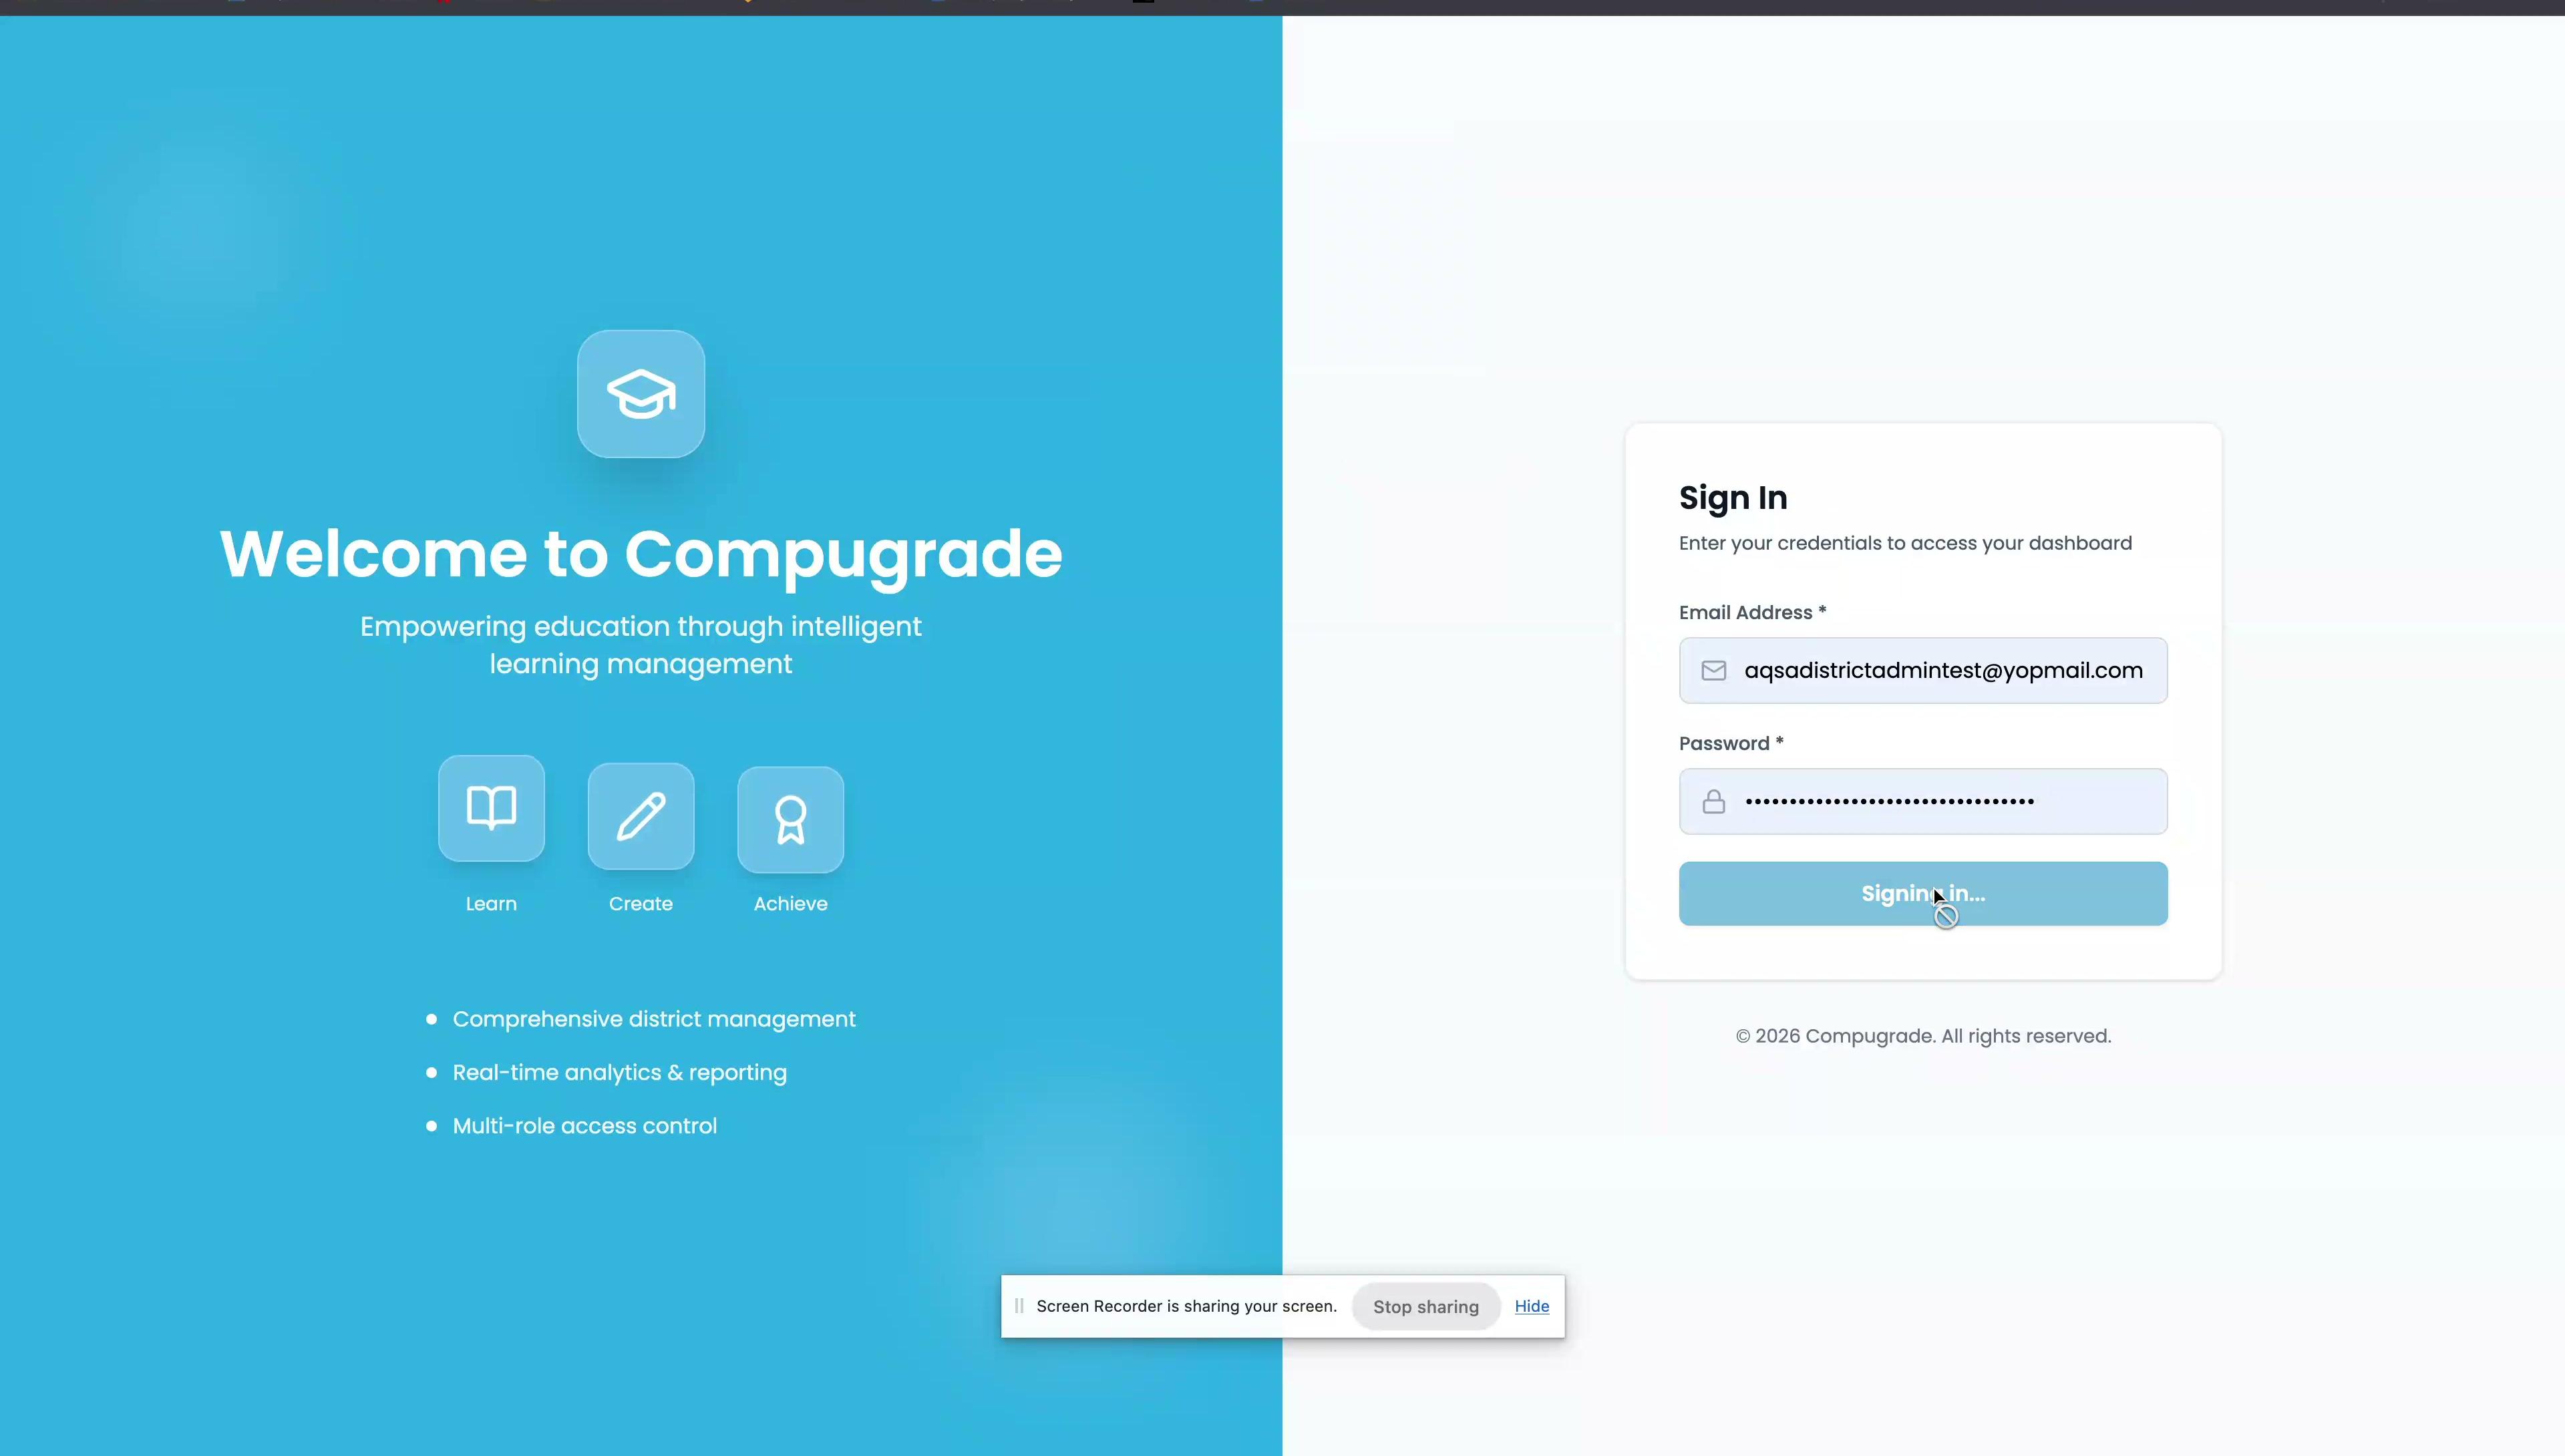
- Log in at
staging-api.dashboard.compugrade.comwith your District Admin credentials. - Review: Purchased vs. Consumed Seats, Active Schools, Active Classes, Recent Activity Feed.
- A seat buffer under 10% is an urgent signal to contact your account manager.
1.2 Add a New School
- Click Schools → "+ Add School".
- Fill in: School Name, Principal Name, School Type, Address.
- Click Save. The school can now receive seat allocations.
1.3 Allocate Seat Licenses to Schools
- Click Seat Management. The top section shows Total Purchased / Allocated / Unallocated seats.
- Click "Allocate" next to a school → enter the seat limit → click Confirm.
Note: Seats are consumed automatically when a student enrolls via the Open edX CMS plugin webhook. District Admins do not manually deduct seats.
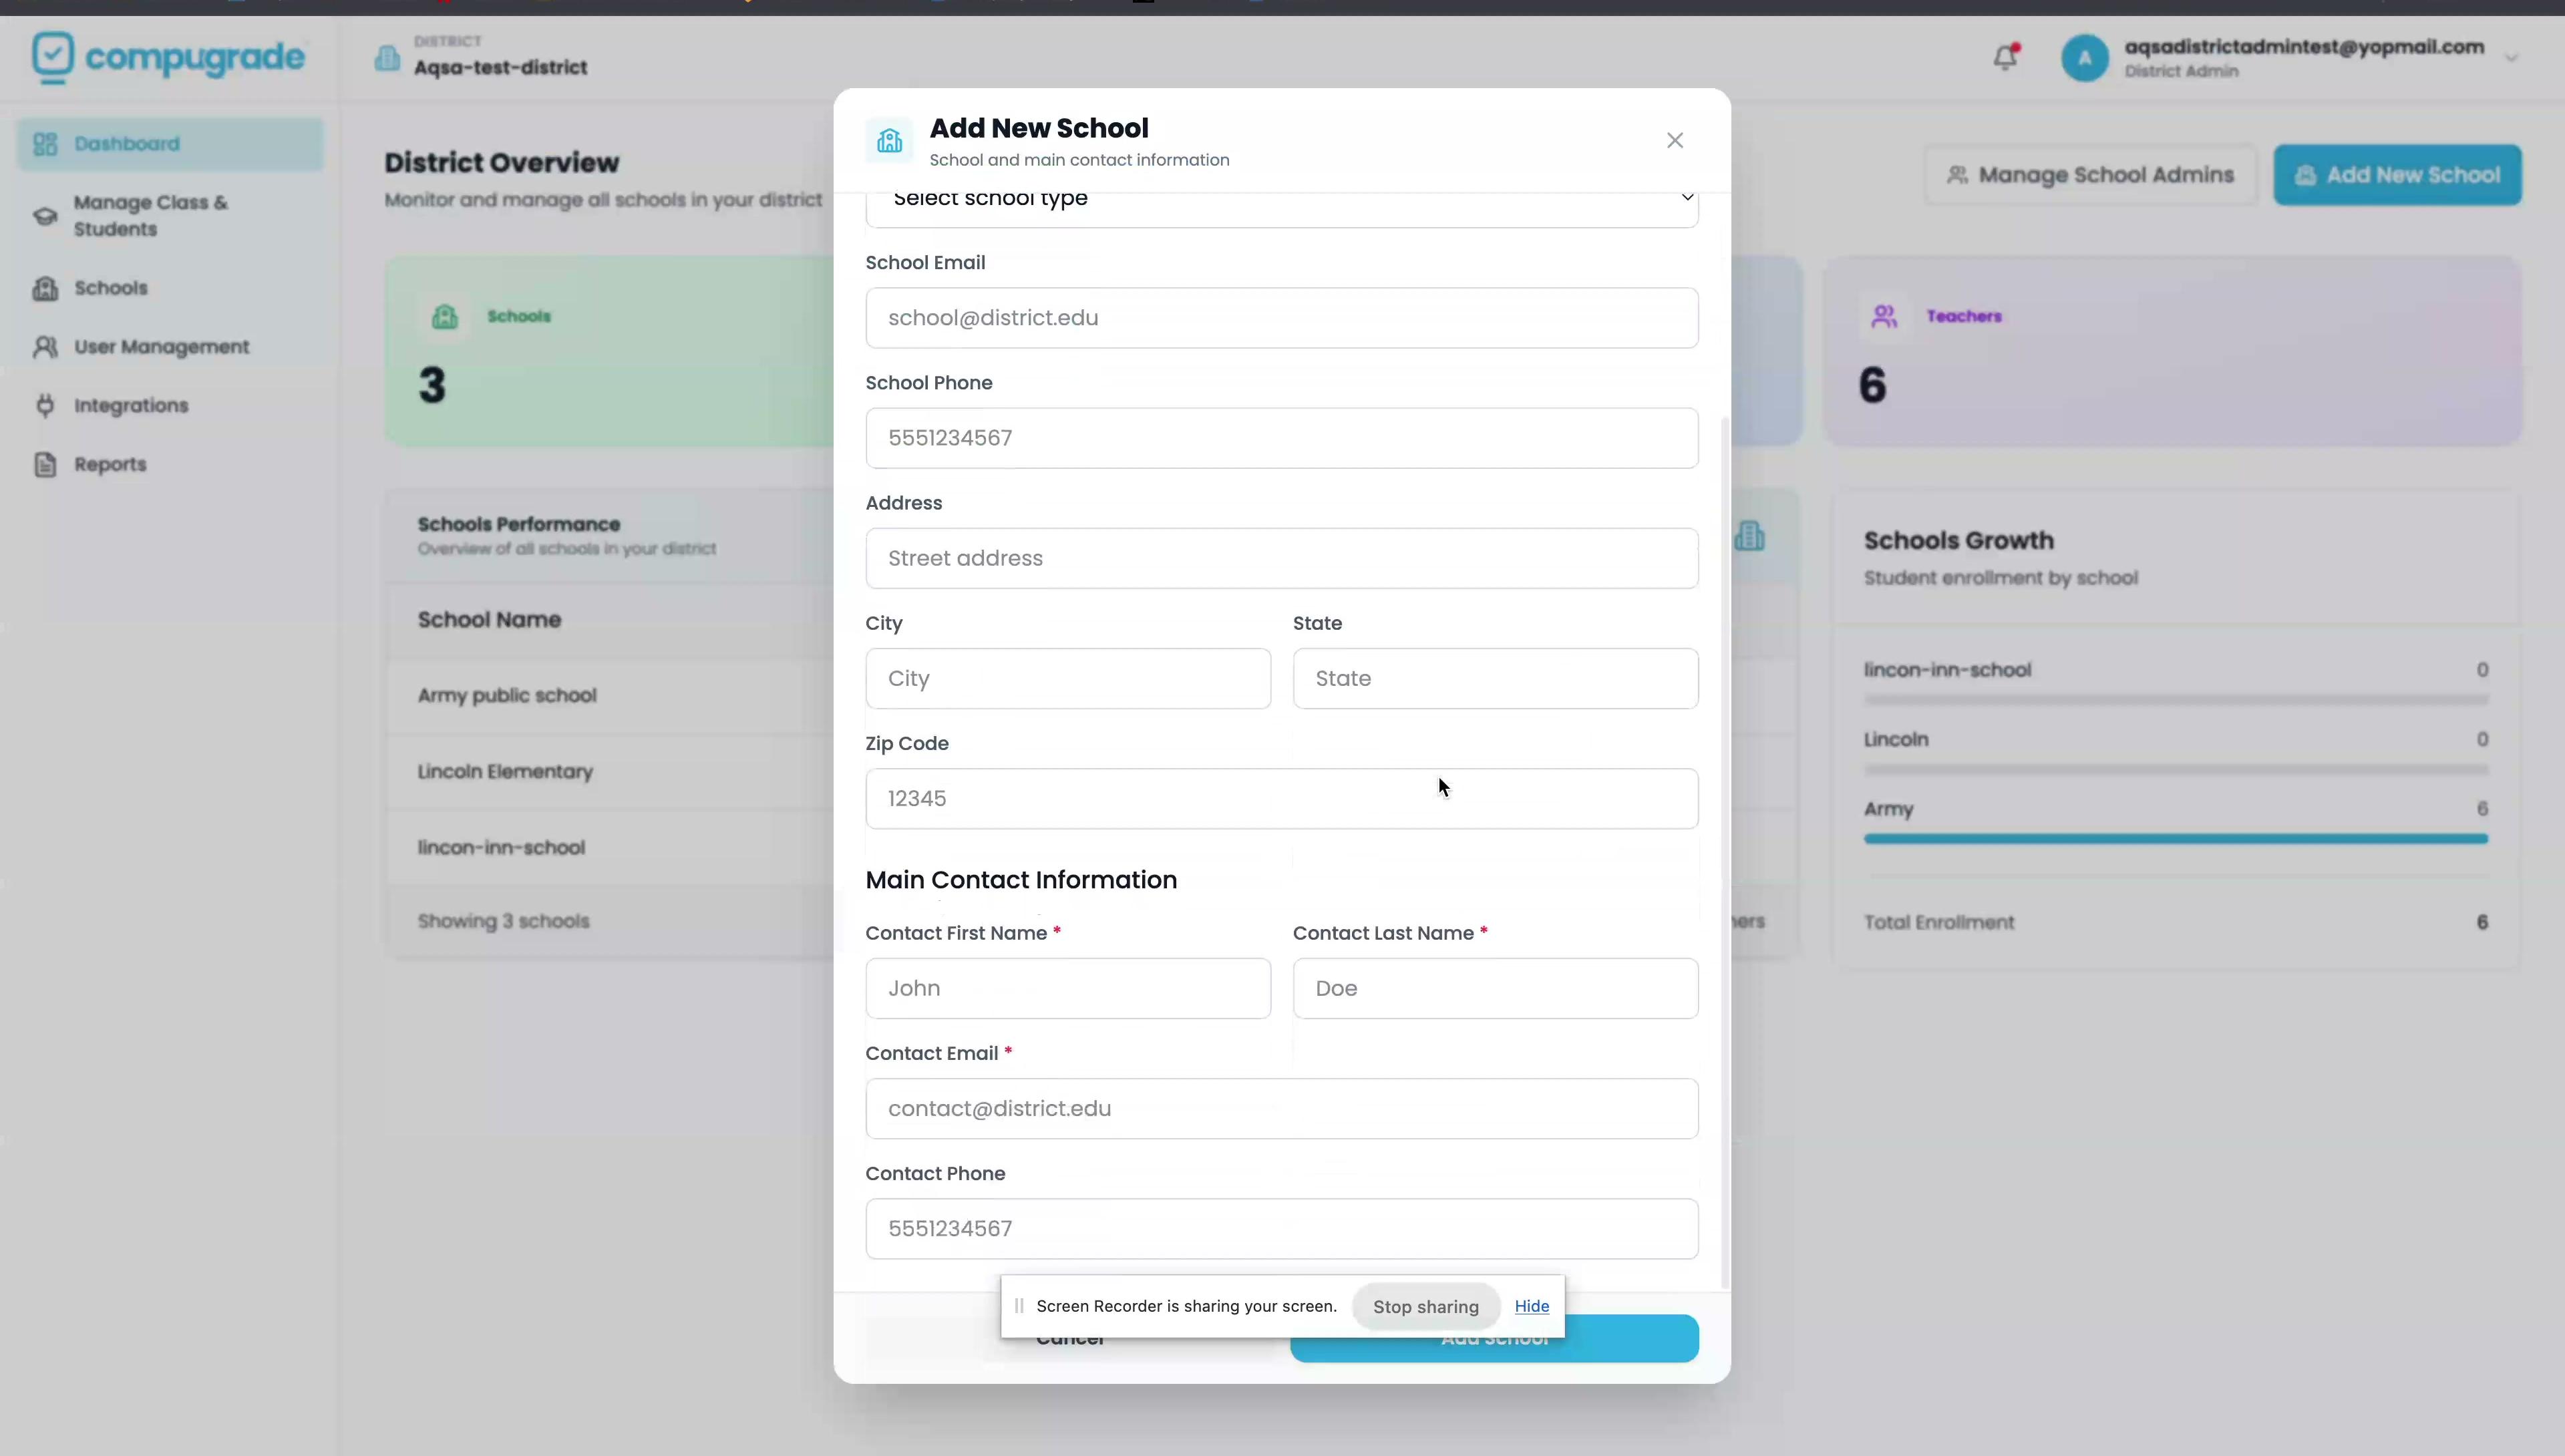
1.4 Provision a New Classroom
Context: Creating a class triggers a server-to-server request to the Open edX CMS plugin, which creates the Django
Classroommodel and fires a webhook back to deduct seats automatically.
-
Click Classes → "+ Create New Class".
-
Fill in the form:
Field Description Class Name e.g., "Period 3 — Word Processing" School School this class belongs to Teacher Lead teacher assigned Course Linked Open edX course Start / End Date Active dates Seat Limit Max students for this class -
Click Submit. Within seconds:
- ✅ Django
Classroommodel created in Open edX - ✅ Seats deducted from school allocation via webhook
- ✅ Teacher assigned to the course in Open edX
- ✅ Django
1.5 Bulk Import Teachers & Students
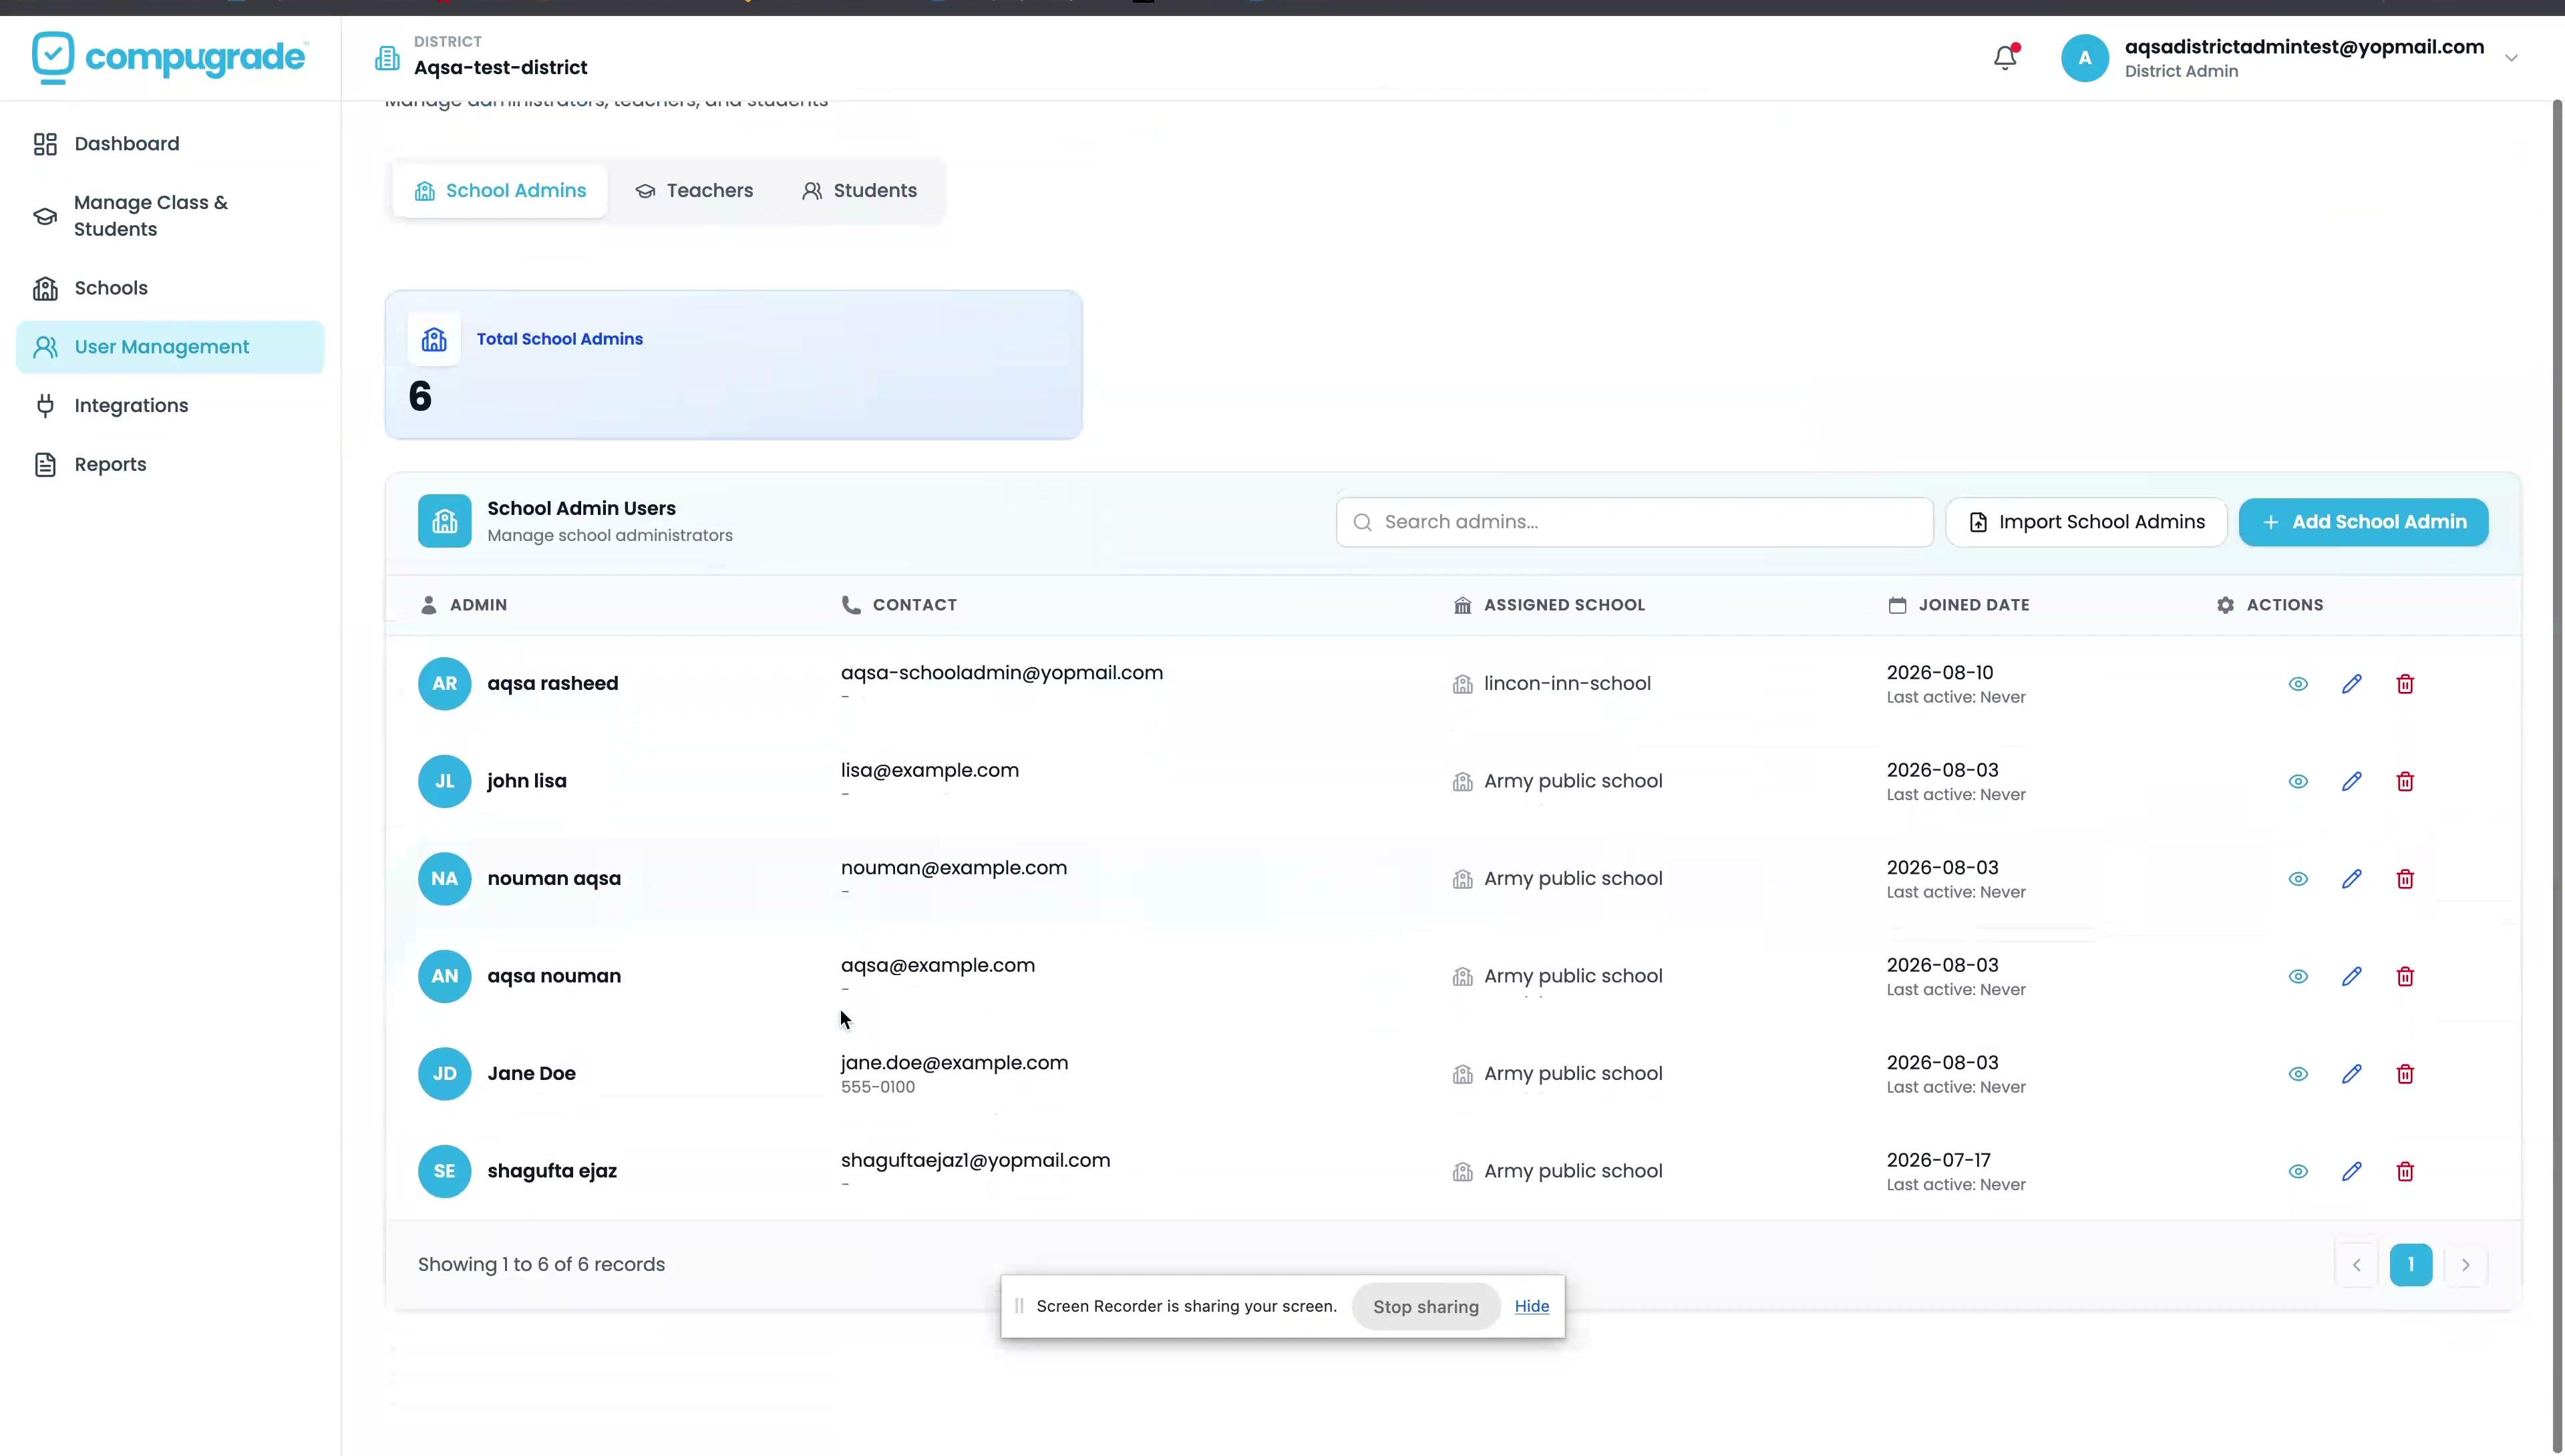
- Click Users → "Bulk Import" → download the CSV template.
- Fill columns:
First Name, Last Name, Email, Role, School, Class. - Upload the CSV. The system creates accounts, enrolls users, and sends invitation emails.
- A results summary shows success and error counts (e.g., duplicate email, invalid class).
Tip: Districts using Clever or ClassLink have rostering handled automatically via SSO — bulk CSV import is only needed for manually managed rosters.
1.6 Generate Reports
-
Click Reports → choose a report type:
Report Contents Grade Report Final scores for all students across all lessons Lesson Activity Report Time spent, attempts, and completion rate per lesson Overdue Lessons Report Students who haven't submitted past-due assignments Seat Usage Report Current and historical seat consumption by school -
Apply filters: Date Range, School, Class, Teacher → click Generate → download as CSV.
1.7 Manage District SSO Settings
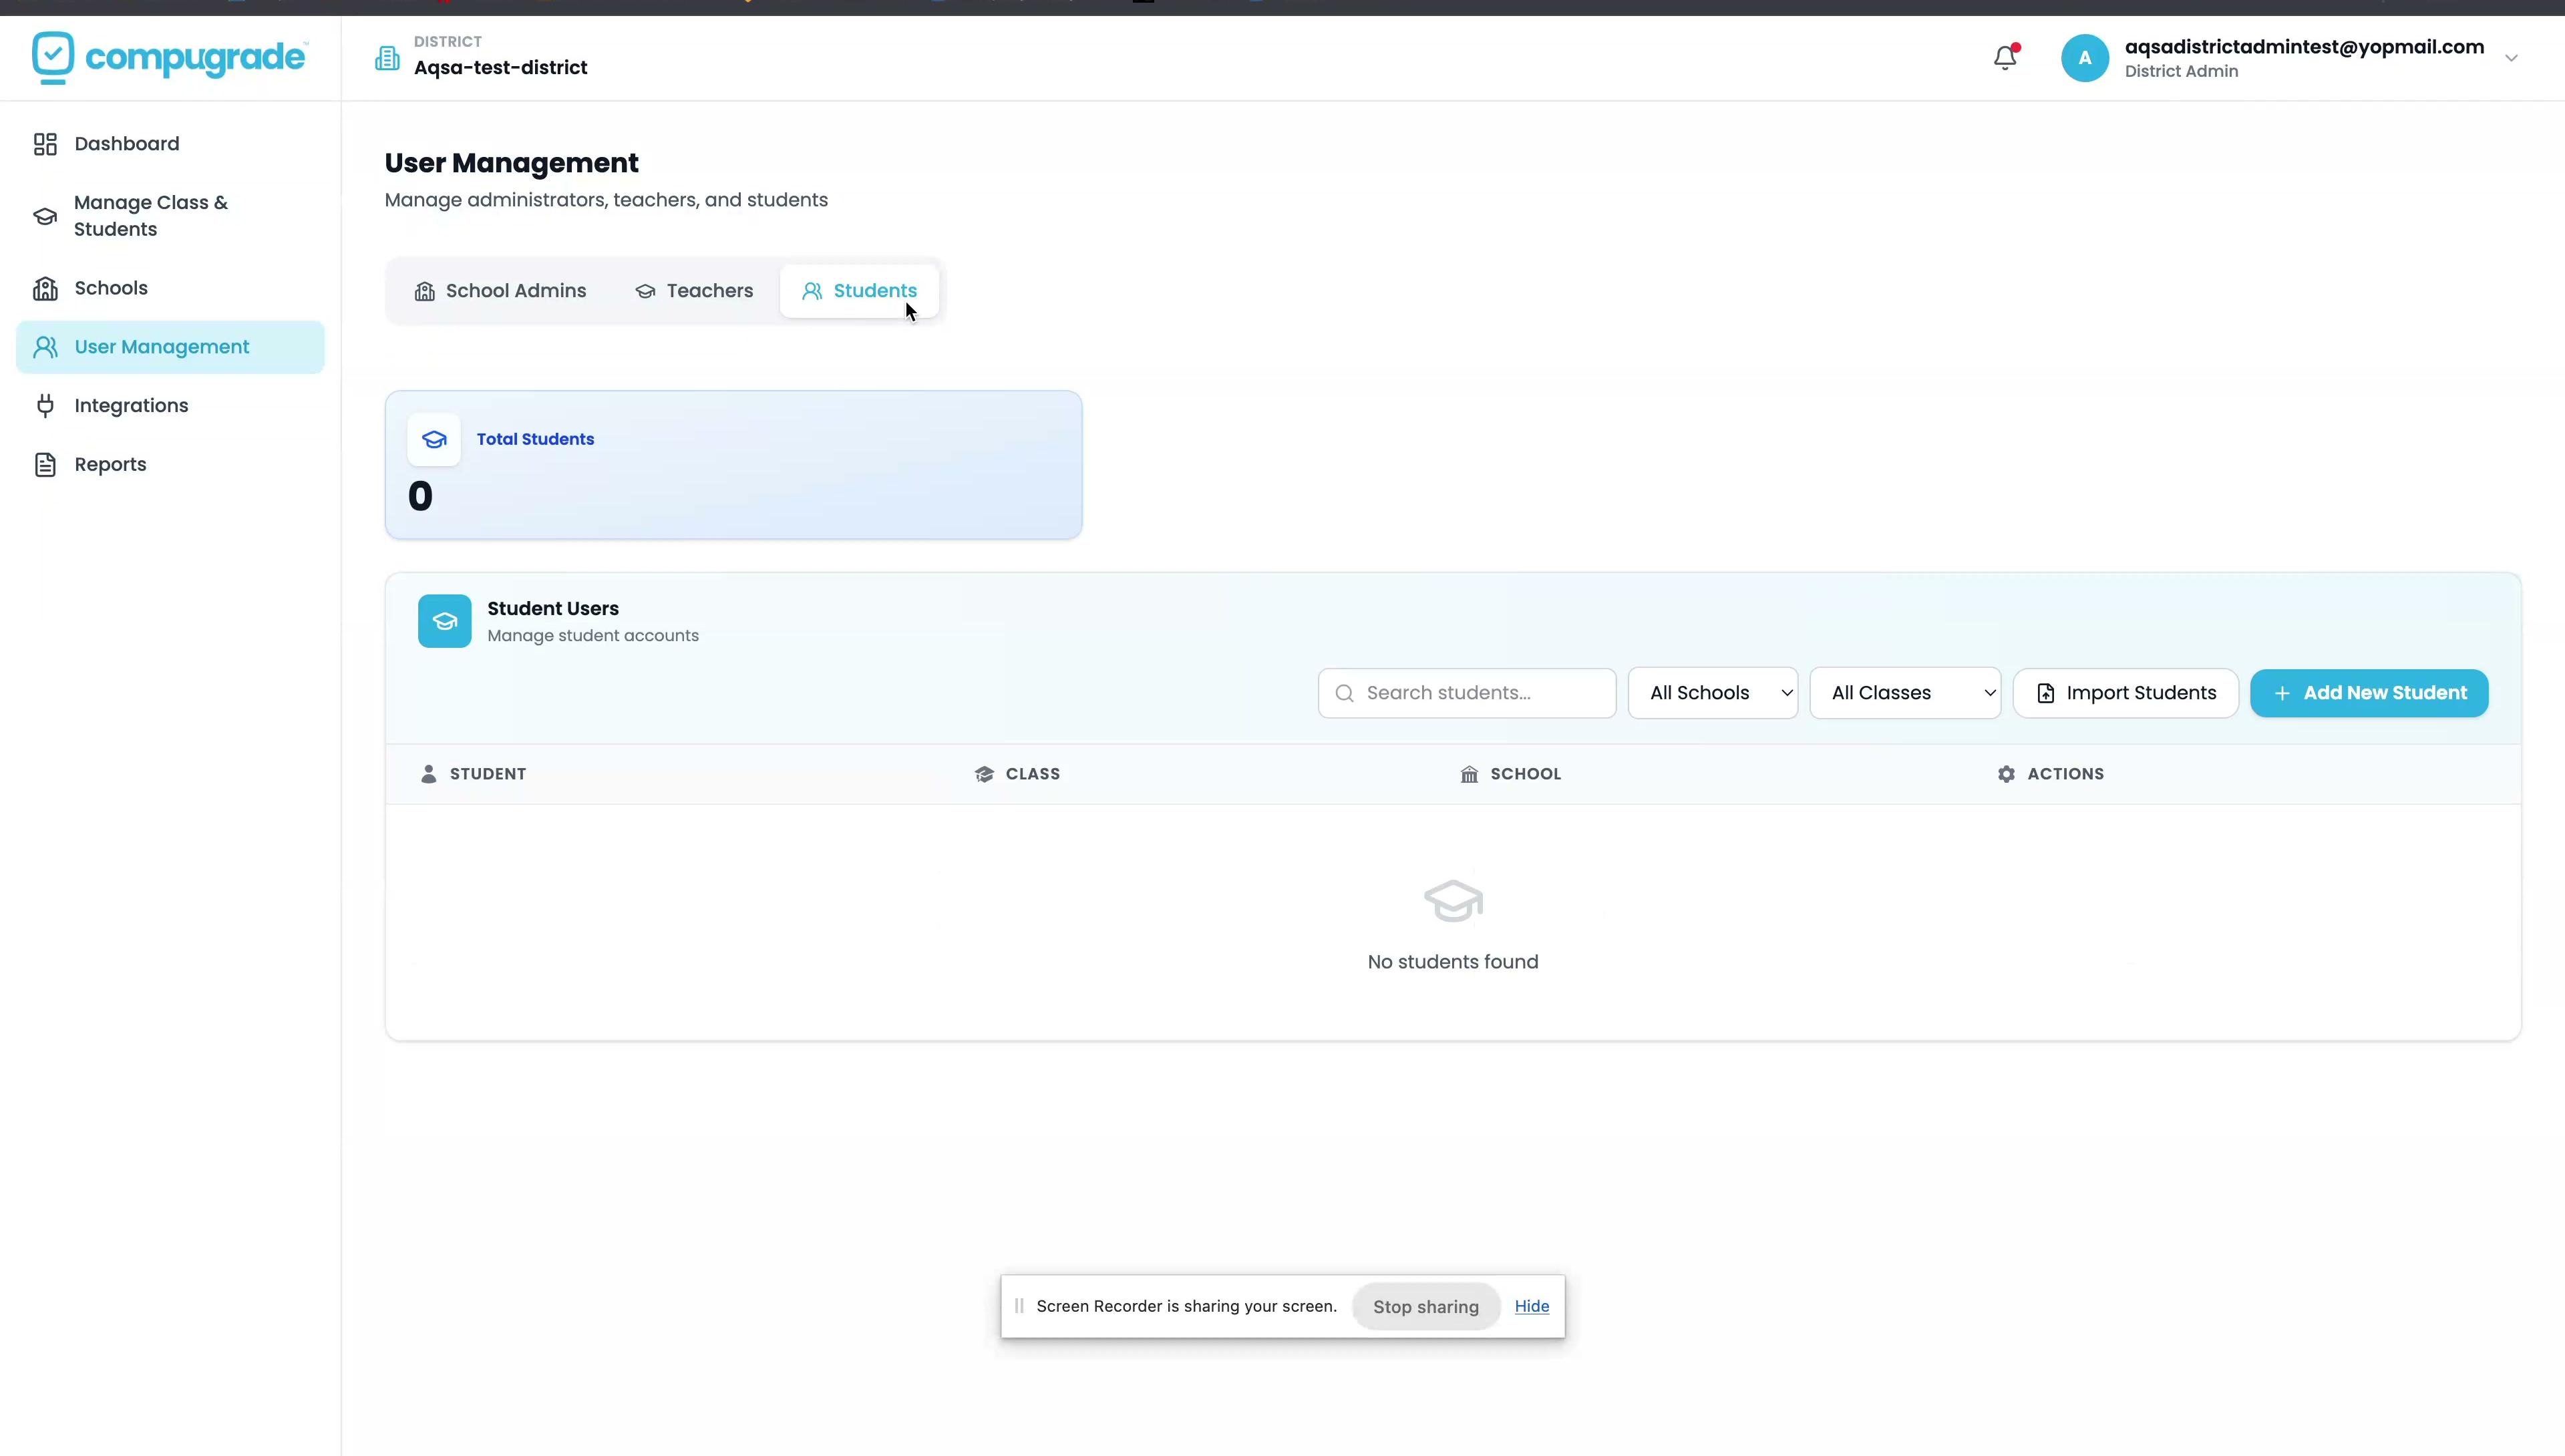
- Click Settings → SSO Configuration tab.
- To update credentials: Click Edit → update Client ID / Secret → Save.
- To switch provider: Click Change Provider → select new provider → enter credentials → Save.
Warning: Changing SSO credentials affects all users logging in via that provider immediately. Coordinate the change simultaneously with the provider's admin console.