CompuGrade Student Manual
1. Student Guide: Using the Autograding Add-in
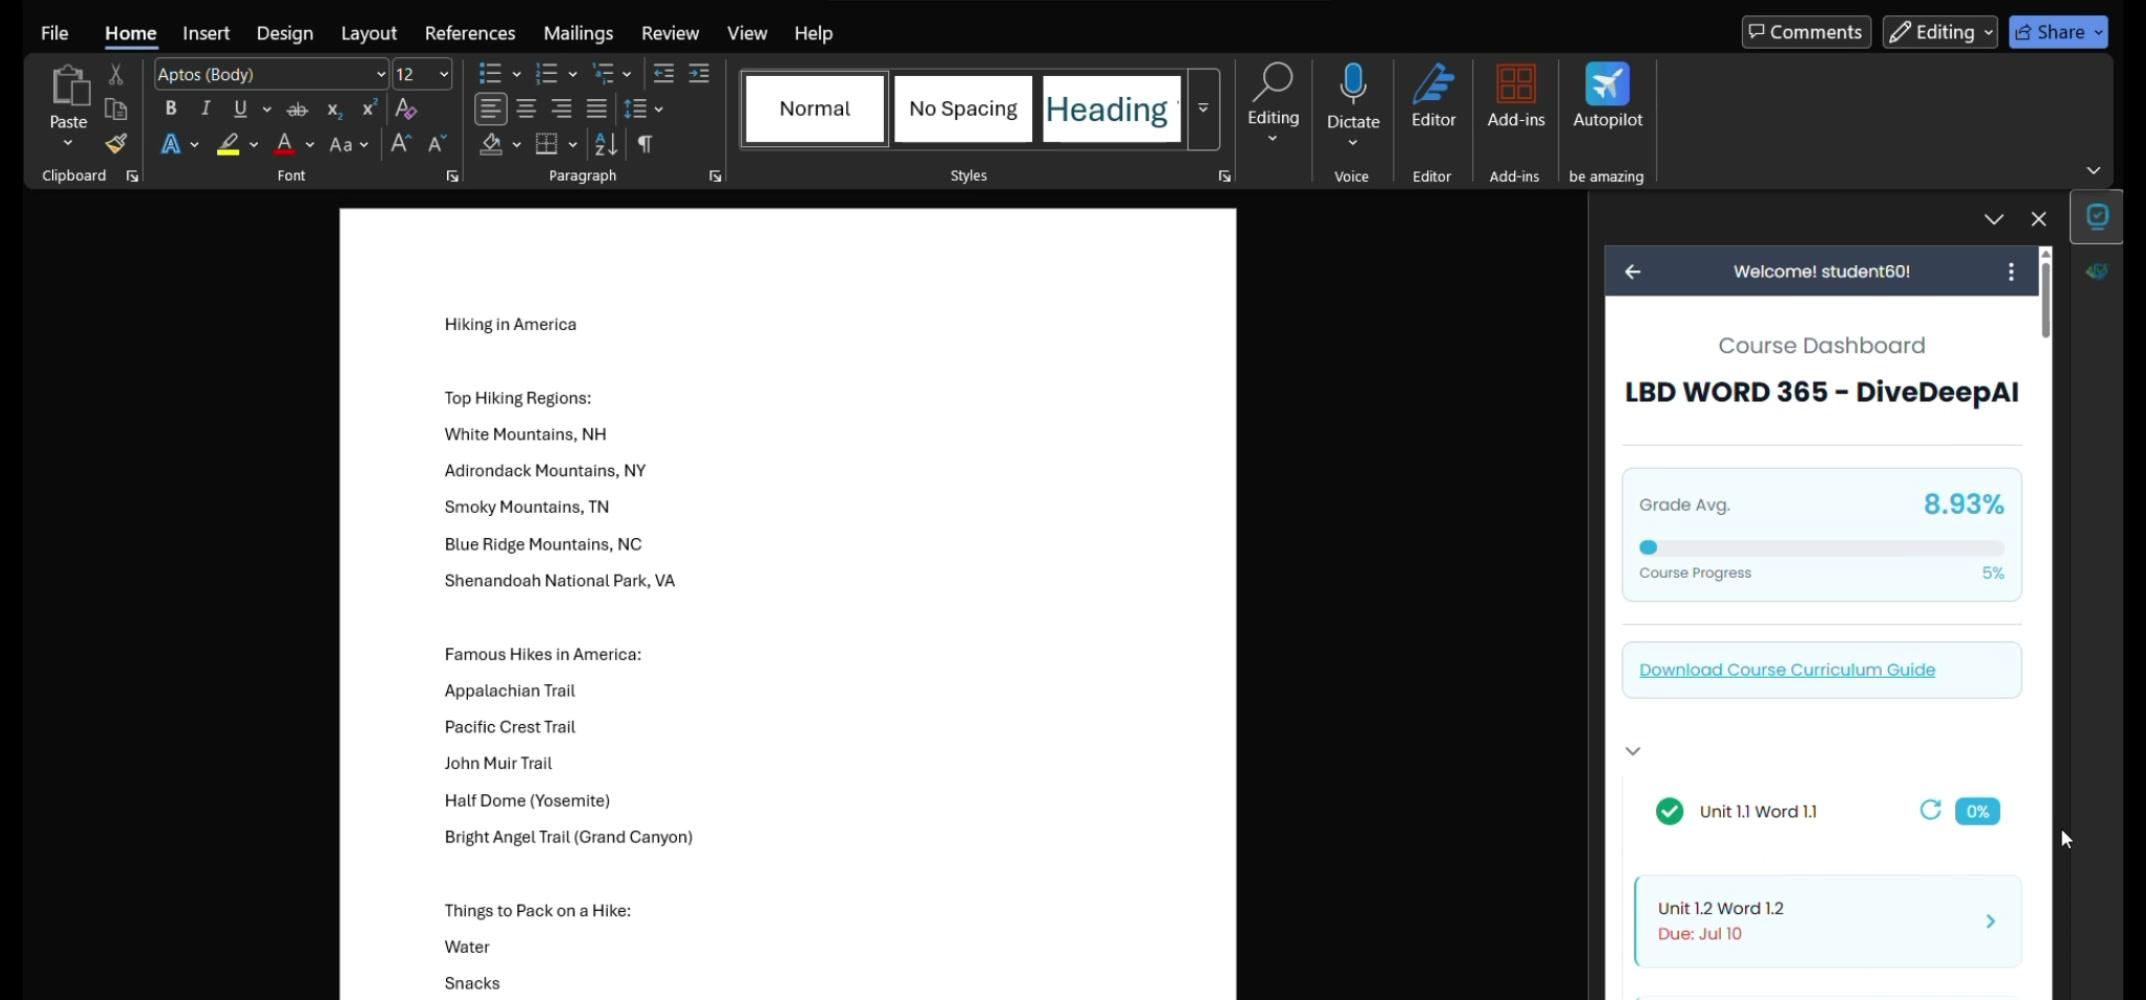
As a student, you will complete your assignments directly inside your standard productivity applications (Microsoft Word, Excel, PowerPoint, or Google Workspace). The CompuGrade add-in lives in a taskpane next to your document.
1.1 Getting Started & Authentication
-
Launch the Application: Open your desktop or web version of Microsoft Word (or Google Docs).
-
Open the Taskpane:
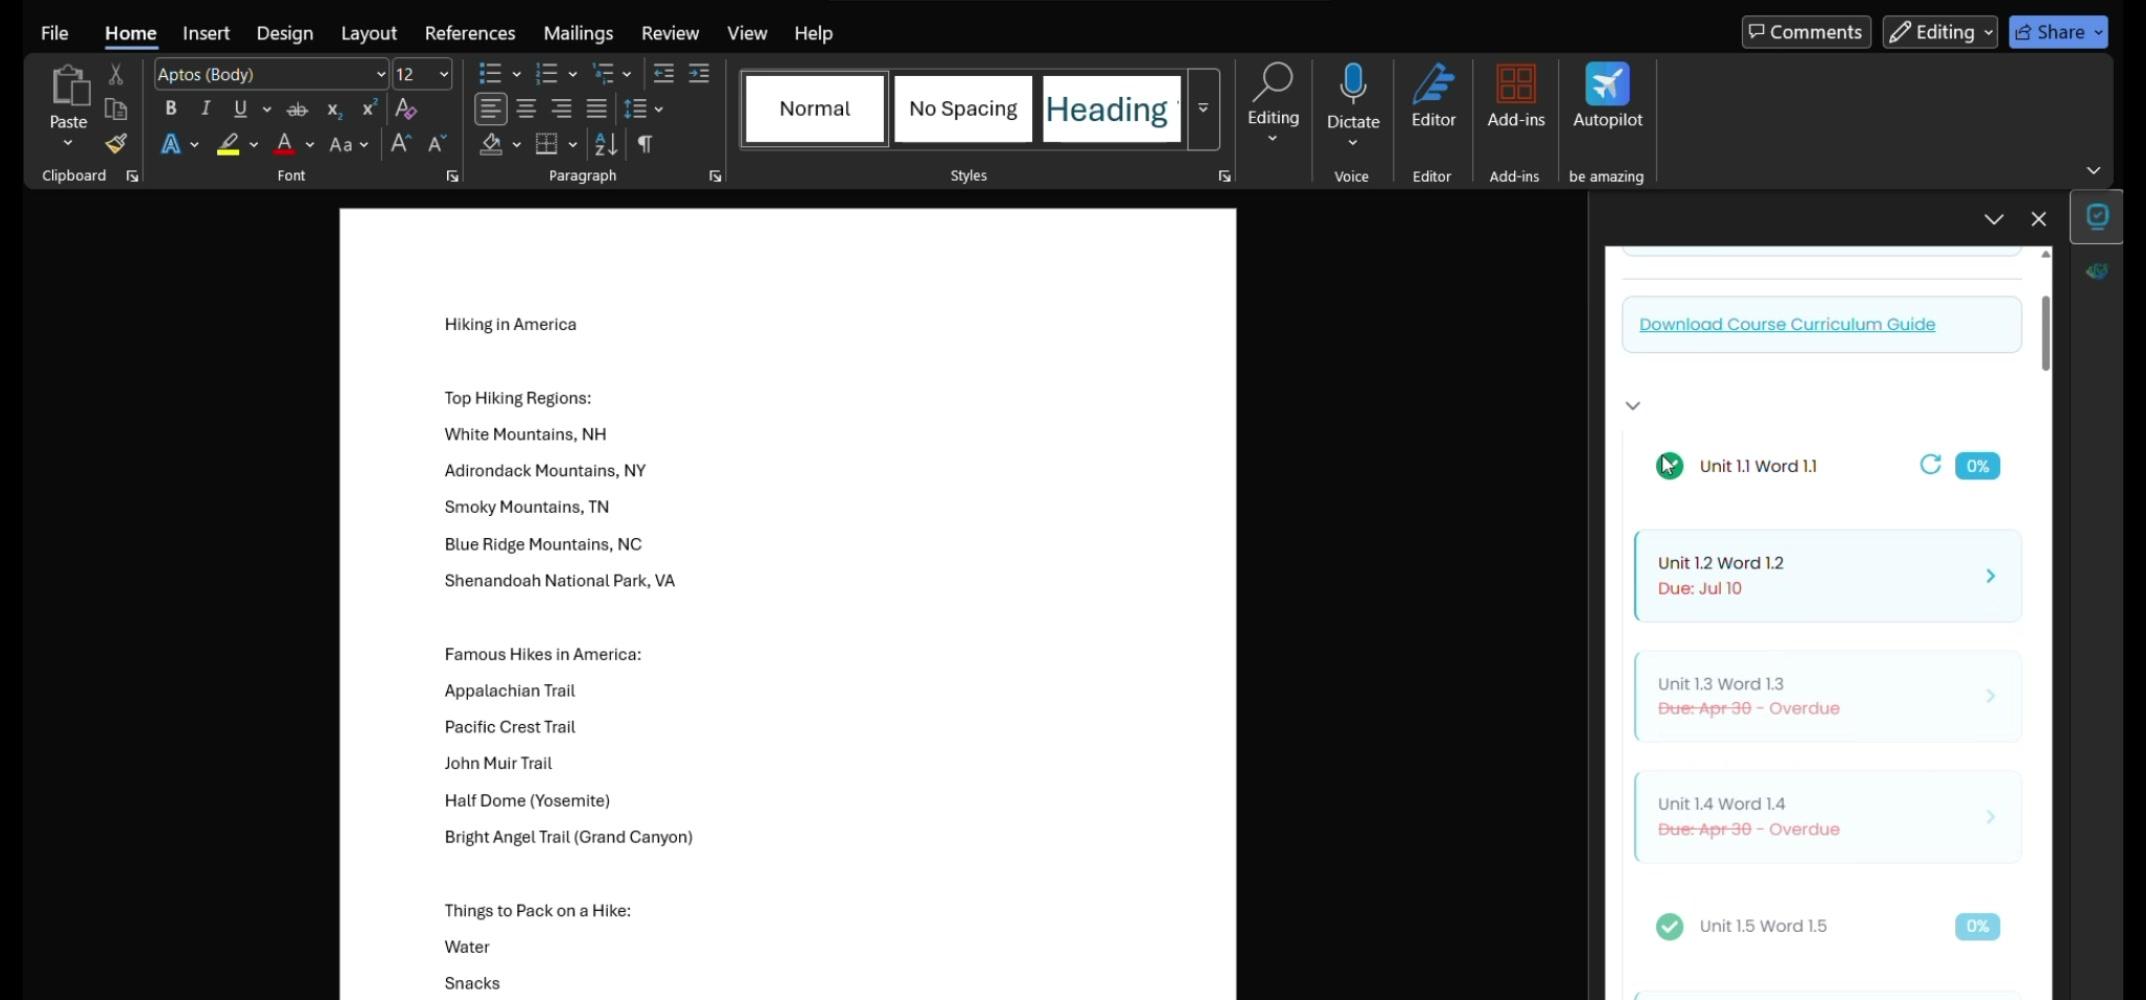
- Microsoft: Click the Home tab on the ribbon, find the CompuGrade icon, and click it to open the right-side taskpane.

- Google: Click the CompuGrade icon in the right-side Workspace sidebar.
-
Log In:
- Enter your credentials or use Single Sign-On (SSO).
- Once authenticated, you will be directed to your Course Dashboard.
-
Select Your Course: The Dashboard will load, displaying your enrolled classes. Click on a specific class card (e.g., "Intro to Word Processing") to view its lessons.
1.2 Completing an Assignment
- Choose a Lesson: Click on an assignment (e.g., "Unit 1.1 Formatting").
- Review Overview: The Assessment Overview screen will appear. Review the estimated time limit and the specific skills that will be covered.
- Start Assessment: Click the blue Start Assessment button at the bottom of the taskpane.
Note: Once you click Start, the assignment timer will begin. It cannot be paused.
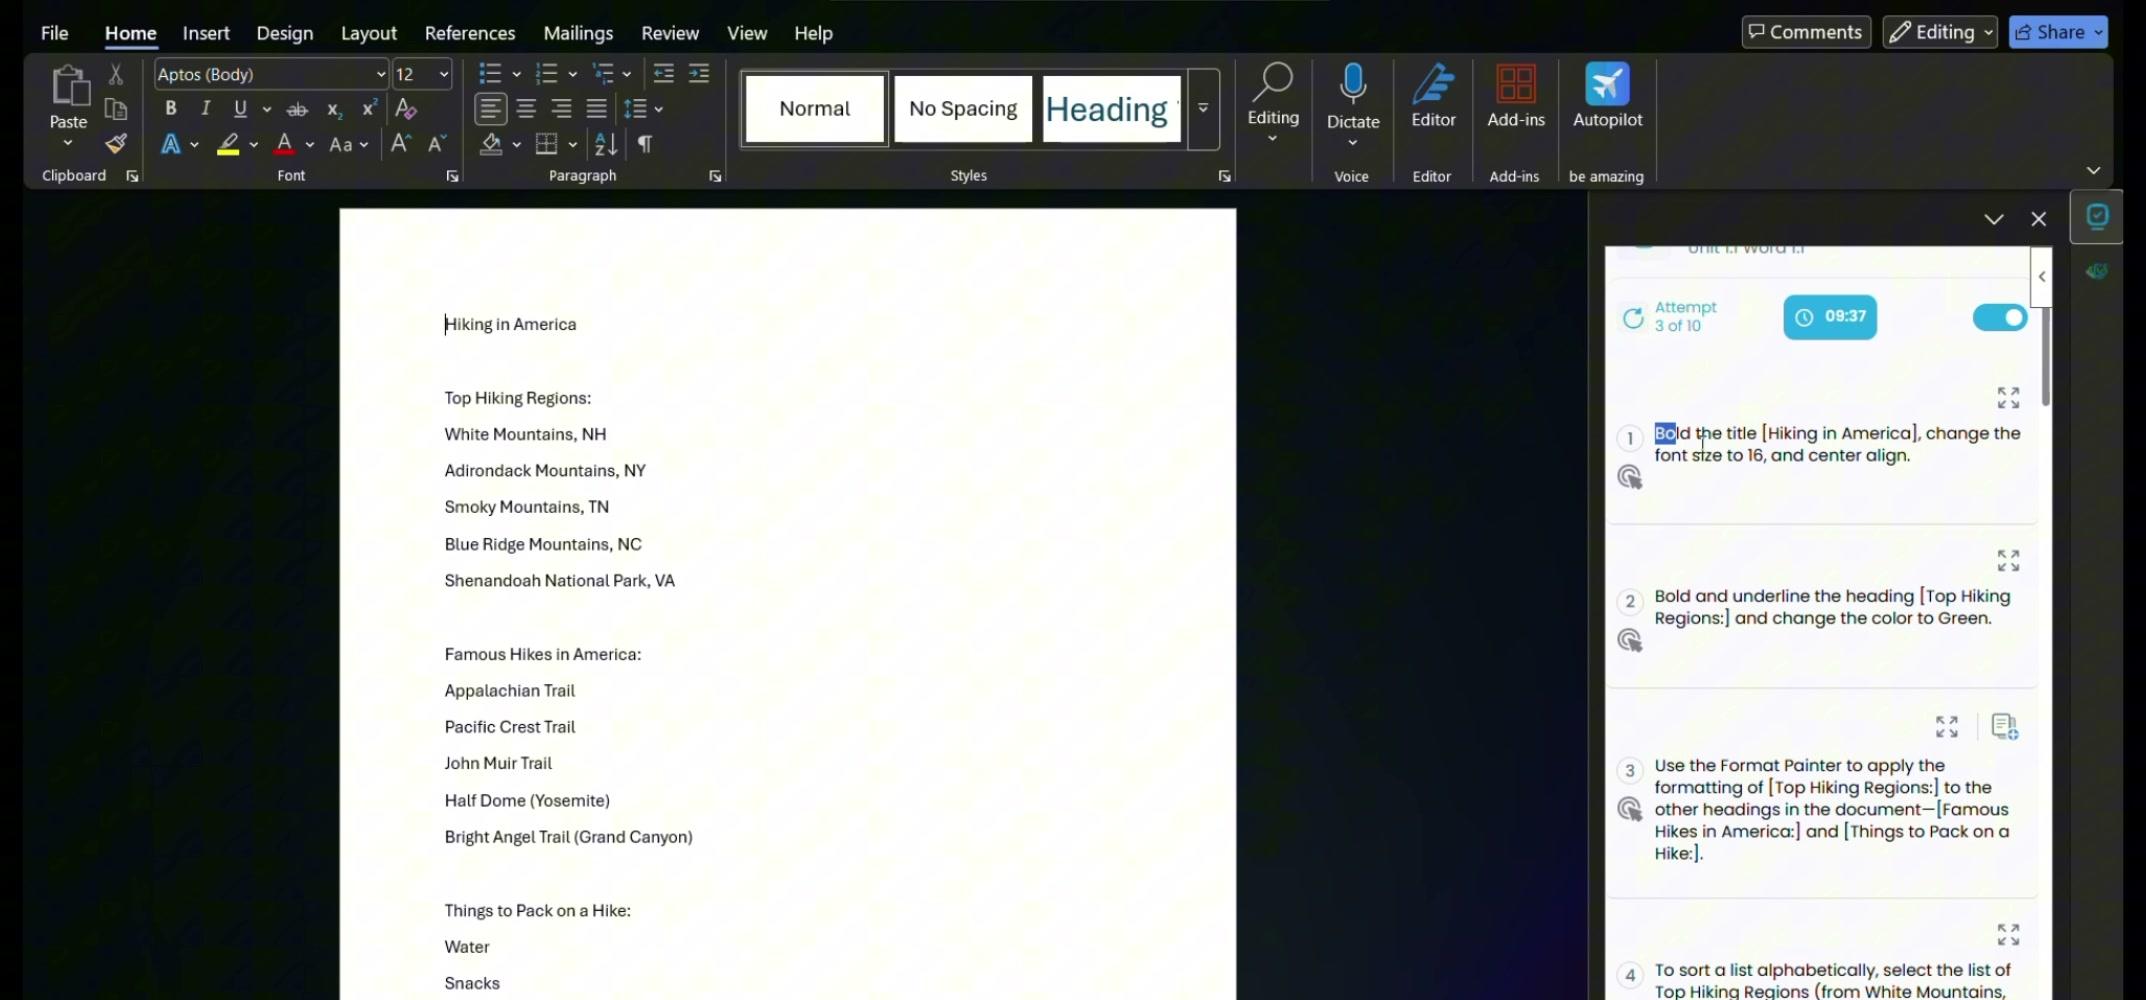
- Follow the Steps: The taskpane will now display a numbered list of instructions.
- Read Step 1 (e.g., "Select the document title and change the font color to Red").
- Perform the action directly in your document.
- Move on to the next step in the list.
1.3 Checking Your Work (Real-Time Feedback)
-
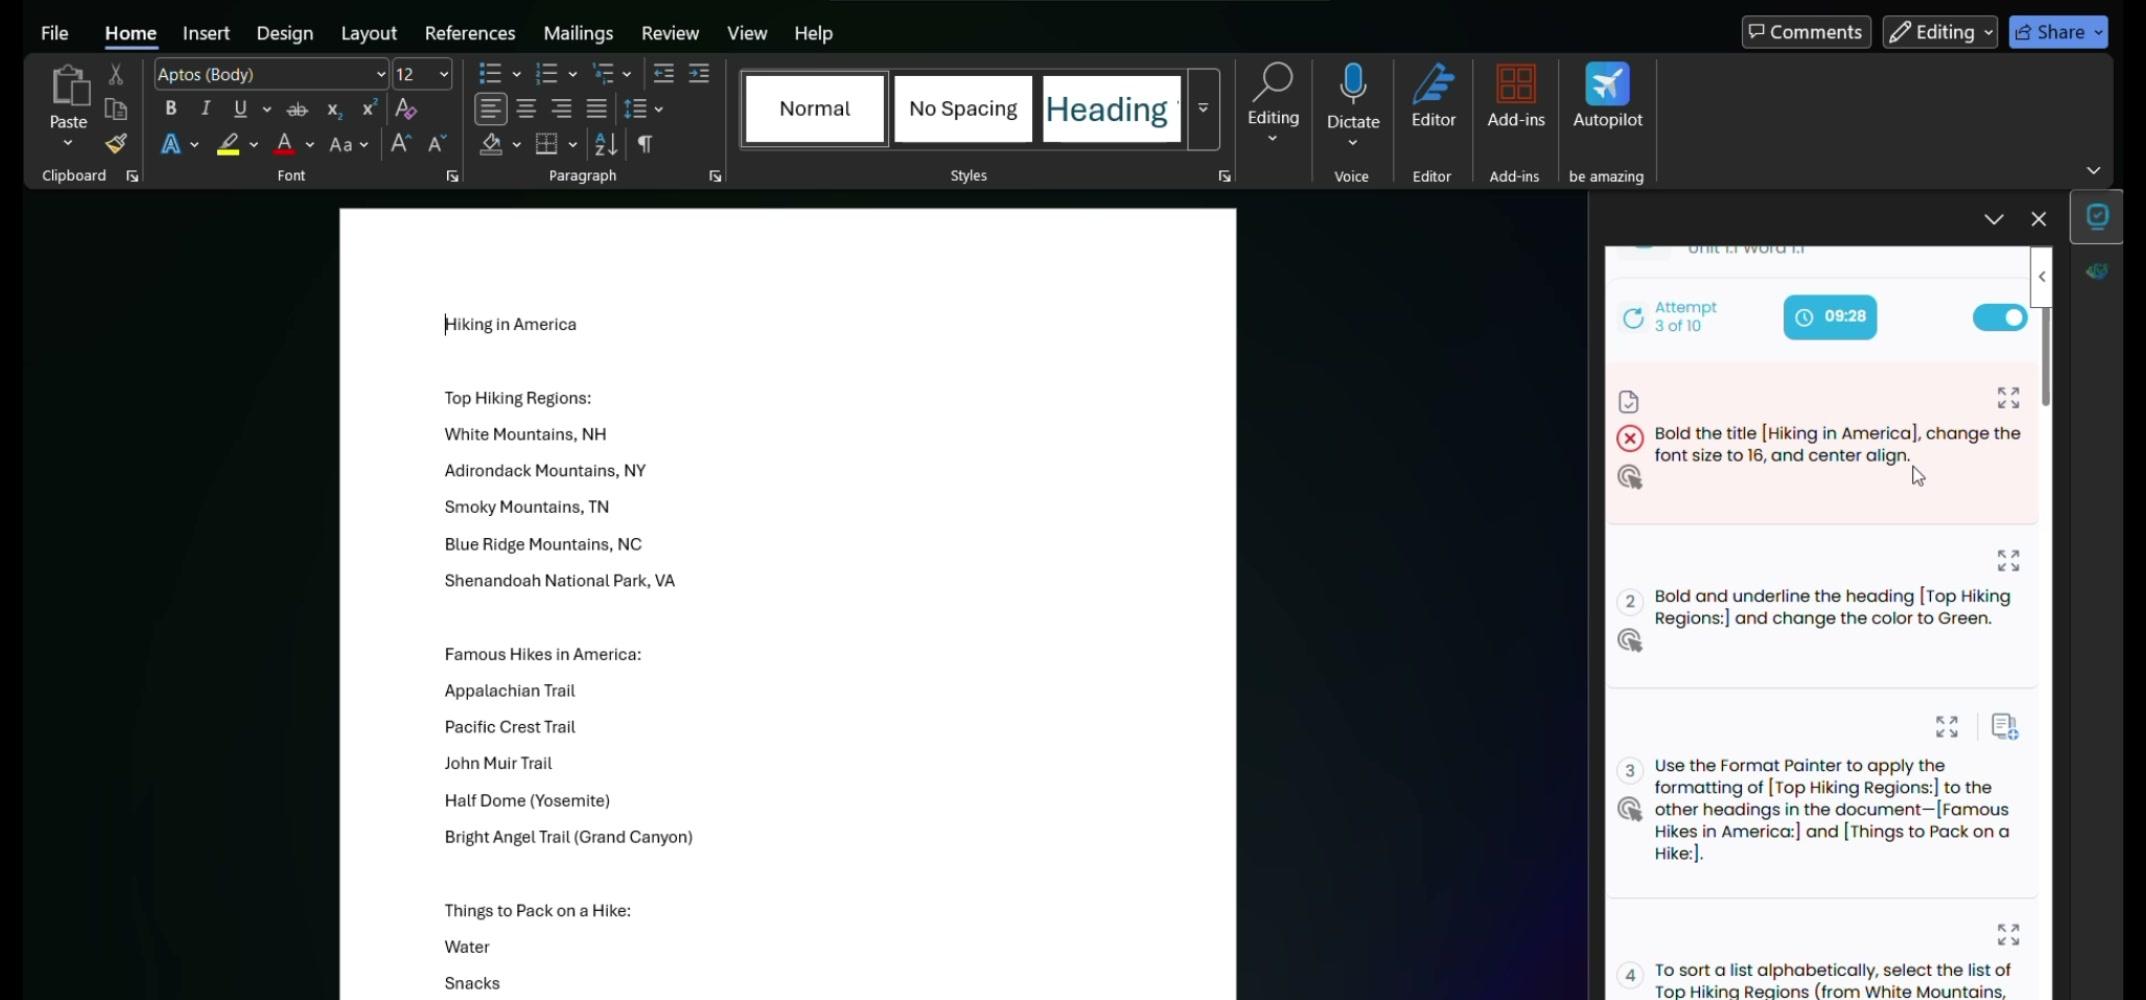
Compare with Answer Key: Click the Final Document Comparison button at the top of your assessment task pane.
-
Wait for Grading: A loading spinner will appear while the system grades your document in the background.
-
Review the Results:
- The taskpane will update. Instructions you completed correctly will get a Green Checkmark (✅).
- Instructions you missed or did incorrectly will get a Red Cross (❌).
-
View the Visual Overlay: A Document Comparison popup modal will appear on your screen.
- Click the "My Work vs Answer Key" toggle to see a visual side-by-side comparison of your document and the teacher's expected outcome.
- Click the "More Details" tab to read specific error messages (e.g., "Text should be color #FF0000, but found #000000").
-
Fix and Re-Check: Close the modal, fix the mistakes in your document, and click "Check Work" again to improve your score.
1.4 Submitting the Lesson
-
Final Submit: Once you are satisfied with your document and have answered all multiple-choice questions, click Submit.
-
Review Summary: A detailed breakdown of your scores will appear, highlighting what you missed (marked with a red X) and what you passed.
-
Confirm: A prompt will ask "Are you sure you want to submit? You cannot make further changes." Click Confirm.
-
Review Final Score: You will be routed to the Assessment Complete screen showing your final percentage grade and a breakdown of points earned. Click Return to Dashboard.